In order to disavow your unwanted backlinks, you will need to upload a properly formatted .txt file to the Google Disavow Tool. The Disavow report in the Backlink Audit tool will help you prepare a file with all of the backlinks that you want removed from your site.
How Disavowing Links Works
When you upload a list of links in a properly formatted disavow file to Google, the search engine will no longer take into account those links when they are measuring the SEO value of your website in their algorithm. Google’s algorithm places high value on the backlinks pointing to your site, so removing dangerous backlinks can be just as beneficial as adding positive ones.
Please note that you can only have one disavow file at a time per website. For example, if you upload a file of 10 links to Google’s Disavow Tool and then later change your mind and realize that you also want to disavow 3 more links, you will need to reformat your file to include all 13 links you want to be disavowed and then upload the file again.
Conversely, if you simply uploaded a second disavow file with those 3 new links in it, Google would then forget to disregard the 10 links you originally asked to disavow.
In this sense, if you change your mind and decide that a link you previously disavowed was actually doing you good rather than harm, you can reformat your disavow file to exclude this link and reupload the file to Google’s Disavow Tool.
It's important to keep in mind that disavowing any backlinks is an advanced SEO process and should only be done if you are certain that you have low-quality links linking to your website. Google recommends that disavowing should only be done after you’ve attempted to remove all of your website’s bad backlinks manually by requesting link removals from the website owners of sites linking to you.
Importing a Previous Disavow File
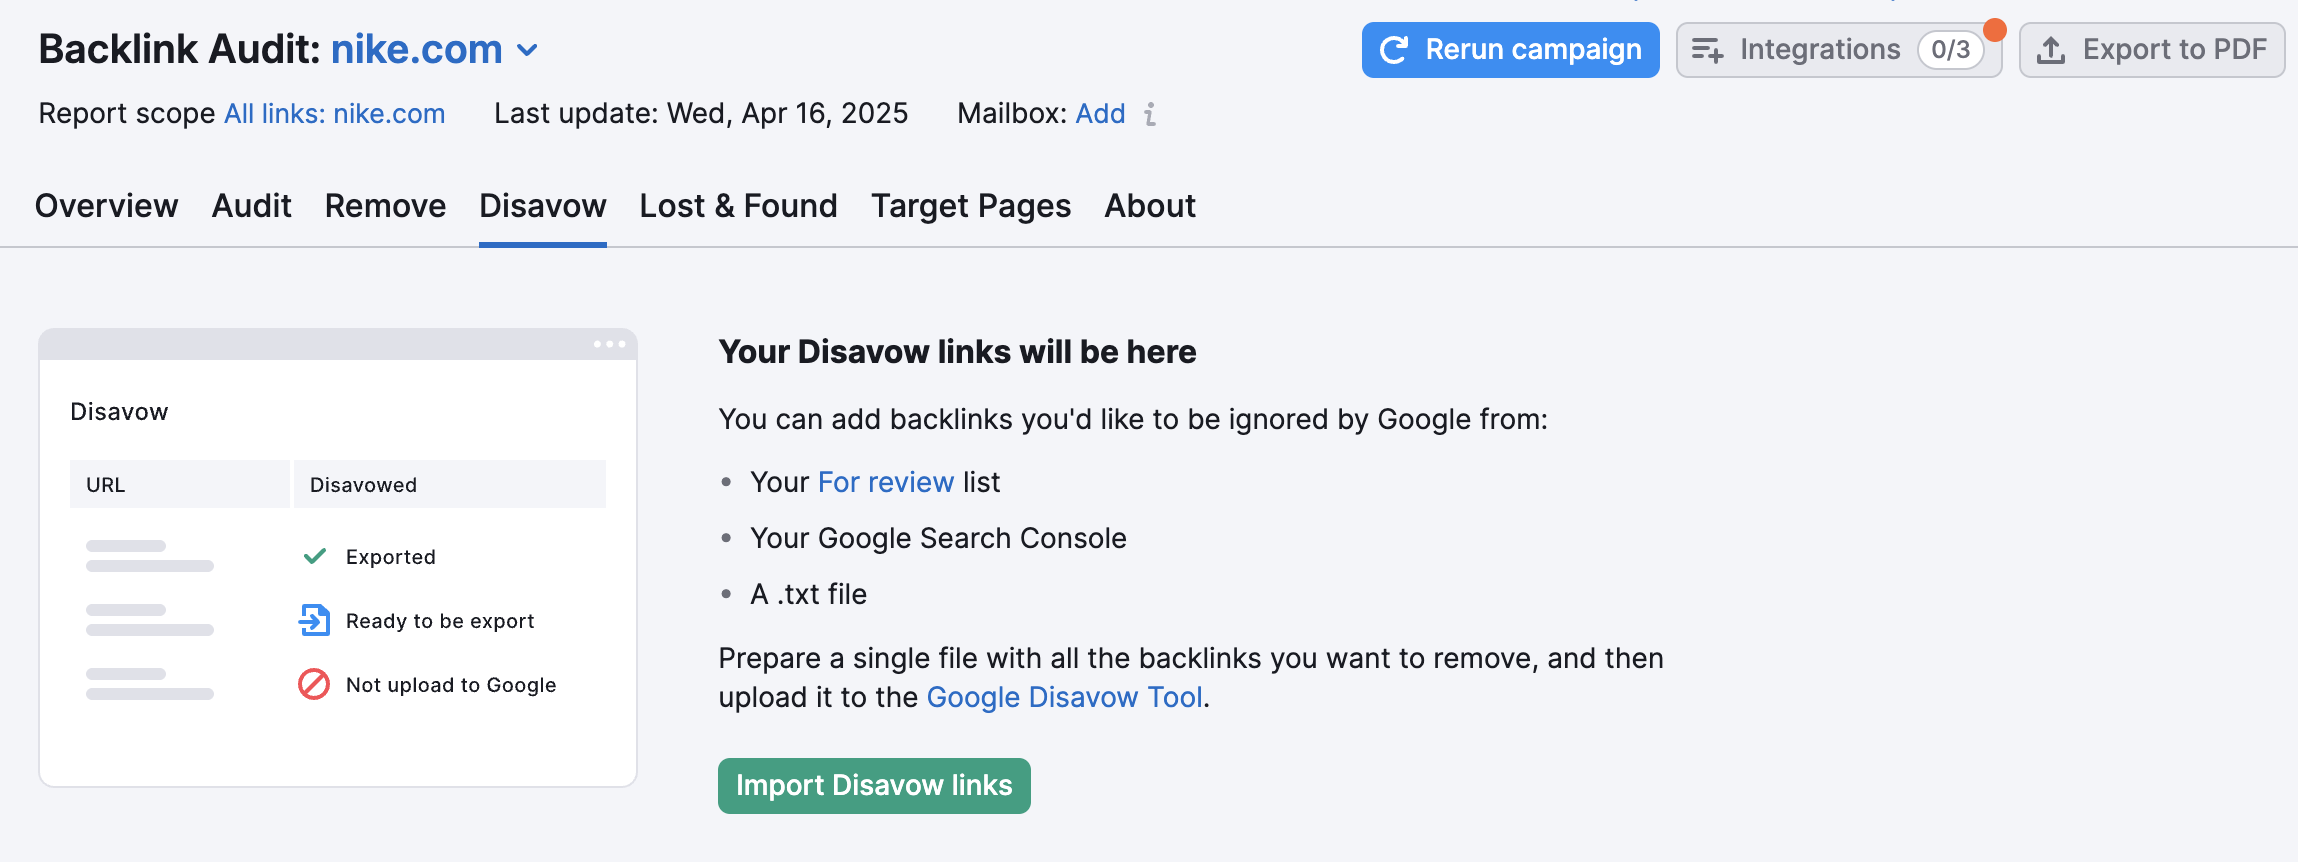
If you already have a disavow file for your website, you can upload the file to the tool with the “Import disavow links” button. If you haven’t added any links from your Audit tab to the Disavow tab, you’ll see this screen:

Just click on the “Import Disavow links” and drag your .txt file into the tool. It can take up to 15 minutes to upload your file to the tool. If you already have links in this tab, you can locate the button to import a disavow file above the table.
If you connected your Backlink Audit with your Google Search Console account, you can import the file directly from the connected property using the same button, “Import Disavow links”.

Compiling Links from Audit tab to Disavow List
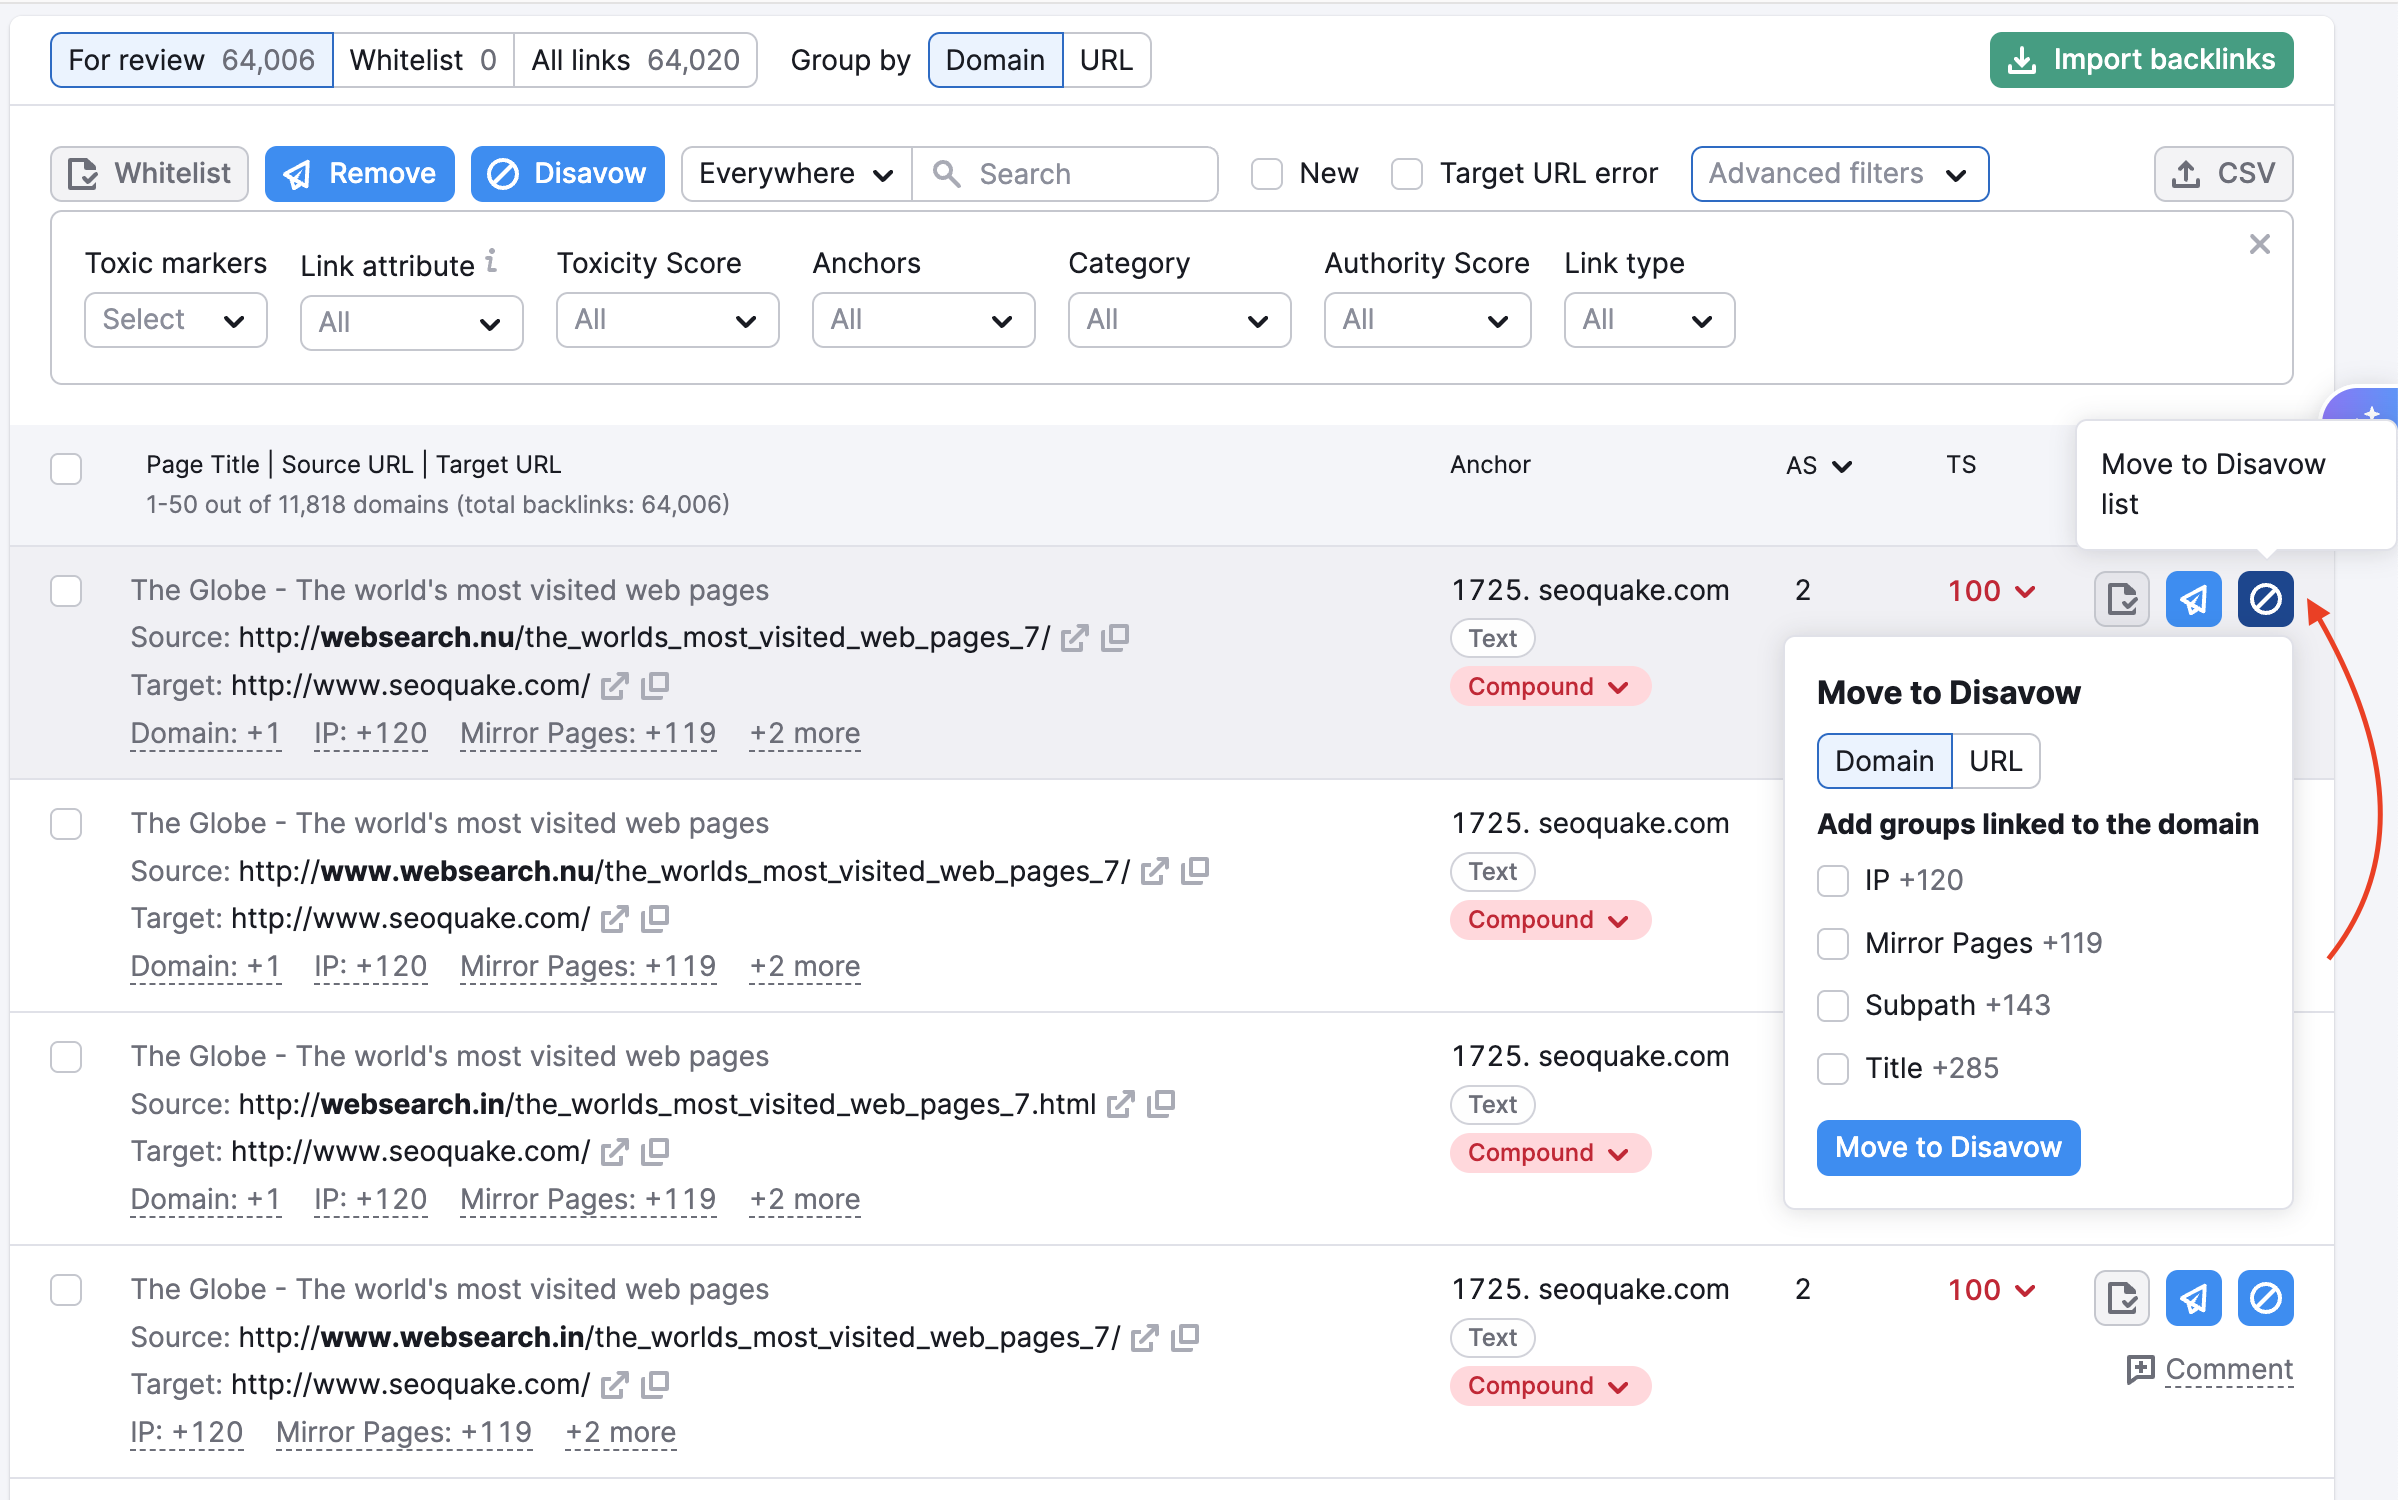
If you do not already have a disavow file, you can create one on Semrush by using the Audit tab of the tool to comb through your links and send the ones you want to disavow to the disavow tab by using the “Move to Disavow list” function.

Something to keep in mind when you disavow your backlinks is that it is almost always better to disavow links on the domain level as opposed to the URL level.
When you disavow links on the domain level, you’re fully removing your website’s association with the linking site. But if you only disavow on the URL level, you run the risk of missing out on other toxic links.
For example, if you are disavowing a link from http://www.example.com/home, that same link may exist from http://www.example.com/home.html.
Disavowing on the domain level will ensure that all links from a dangerous domain are disavowed from your website.
Exporting Your Disavow List
Once you are confident that you have all of the backlinks that you want to remove in your Disavow list, you will see a green button in the top right that says “Export to TXT.” When you click on the export button, Semrush will convert your Disavow list into a properly formatted .txt file.

The .txt file breaks down your links into two separate sections: Domain and URL. All of the backlinks that you chose to disavow at the domain level are located at the top of the .txt document, and the disavowed URLs are displayed below them.
Uploading a Disavow File to Google
Once you have your .txt file ready, go to the Google Disavow Tool and choose the property that you want to disavow links from.

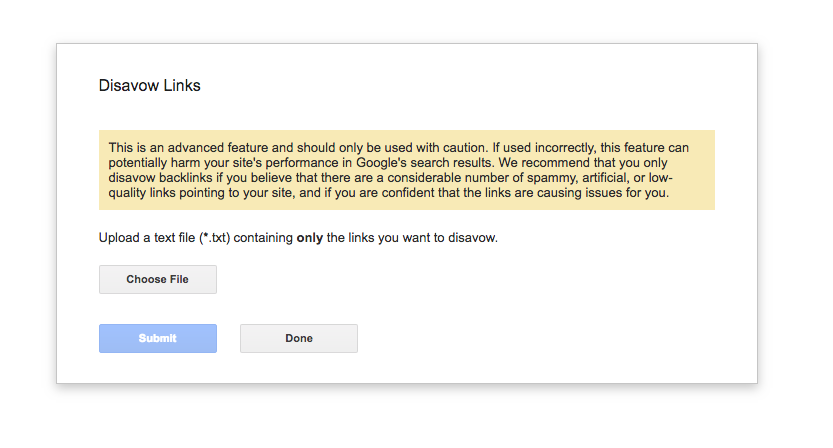
Google will remind you to only use this feature with caution because accidentally removing or disavowing backlinks that help you would be a mistake, and your SEO would suffer as a result.
When you are ready and confident that your file only contains harmful links from spammy websites, you can upload your file to this window and select submit.
After uploading your disavow file, you’ll have to wait up to 6 weeks before Google takes your file into account.
Google recommends using this tool carefully and avoiding making frequent updates in the disavow file, so make sure you try email outreach and ask for the manual removal of links before using the Disavow tool. The Remove tab of Backlink Audit will help facilitate the process of removing links through manual outreach.
If you get the error "Domain properties are not supported at this time" when uploading the file to Google Disavow Tool, try adding an additional URL-prefix property and choose it when uploading the file. You can read more about it in the article "Add a website property" in Google Search Console Help Center. Please note that the Disavow Tool may take some time to recognize the new URL-prefix property.
Confirm That You Have Disavowed the Links

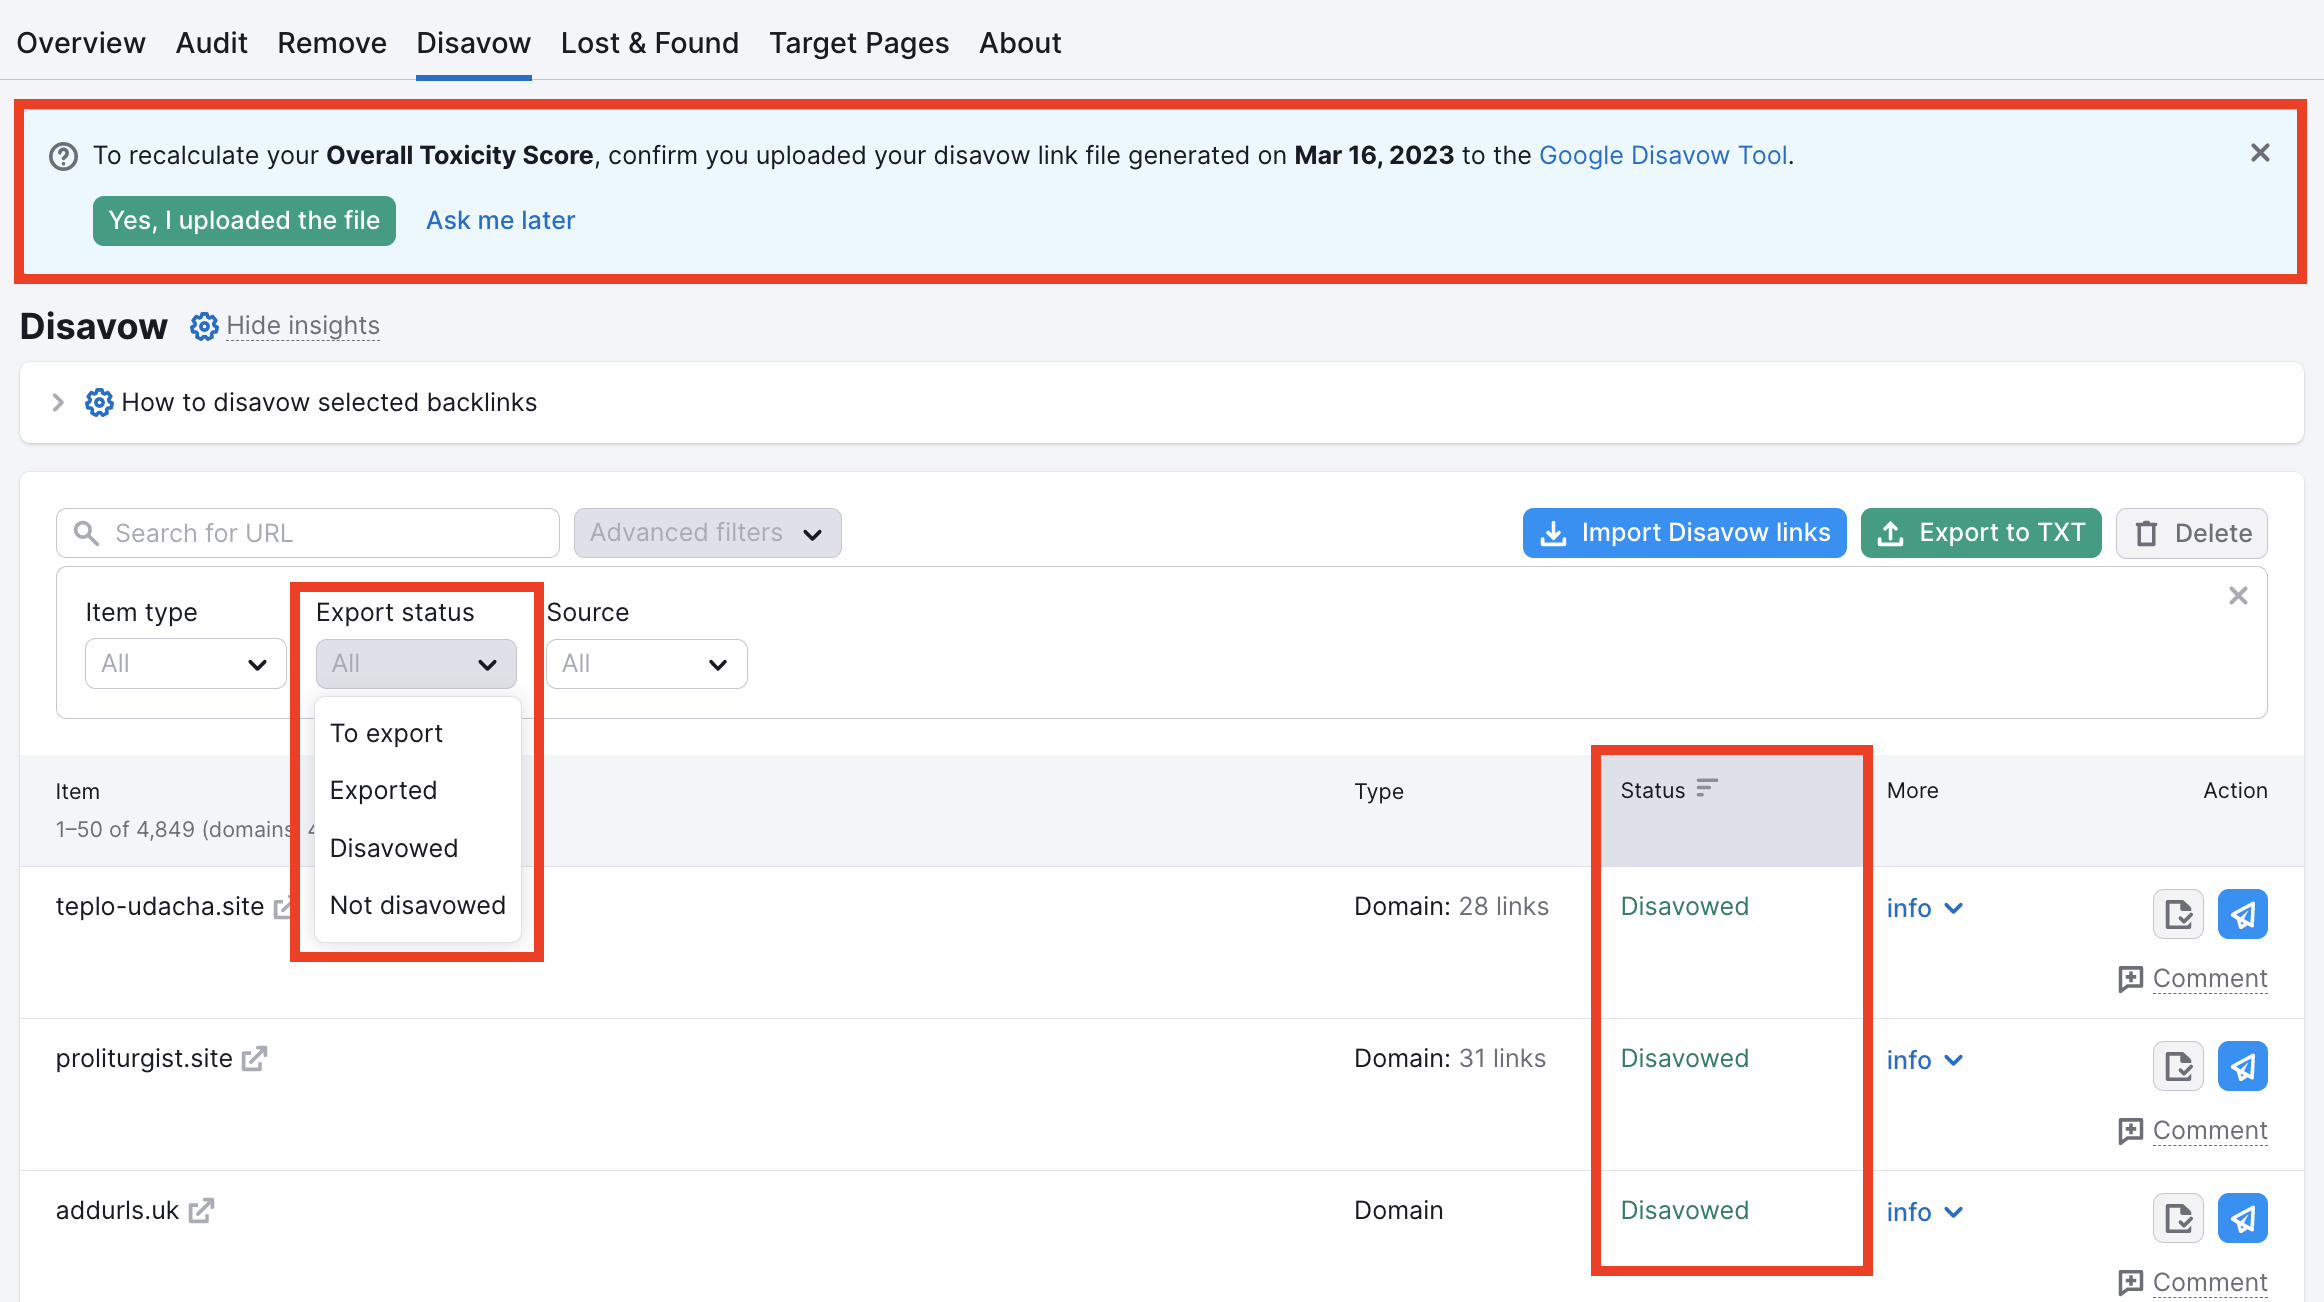
Note: You need to export the disavow file first for the confirmation option to appear. Use the Export to TXT button at the top of the report, and the opportunity to recalculate the Toxicity Score in your Backlink Audit will appear automatically. You only need to confirm the file upload and re-run the Backlink Audit campaign.