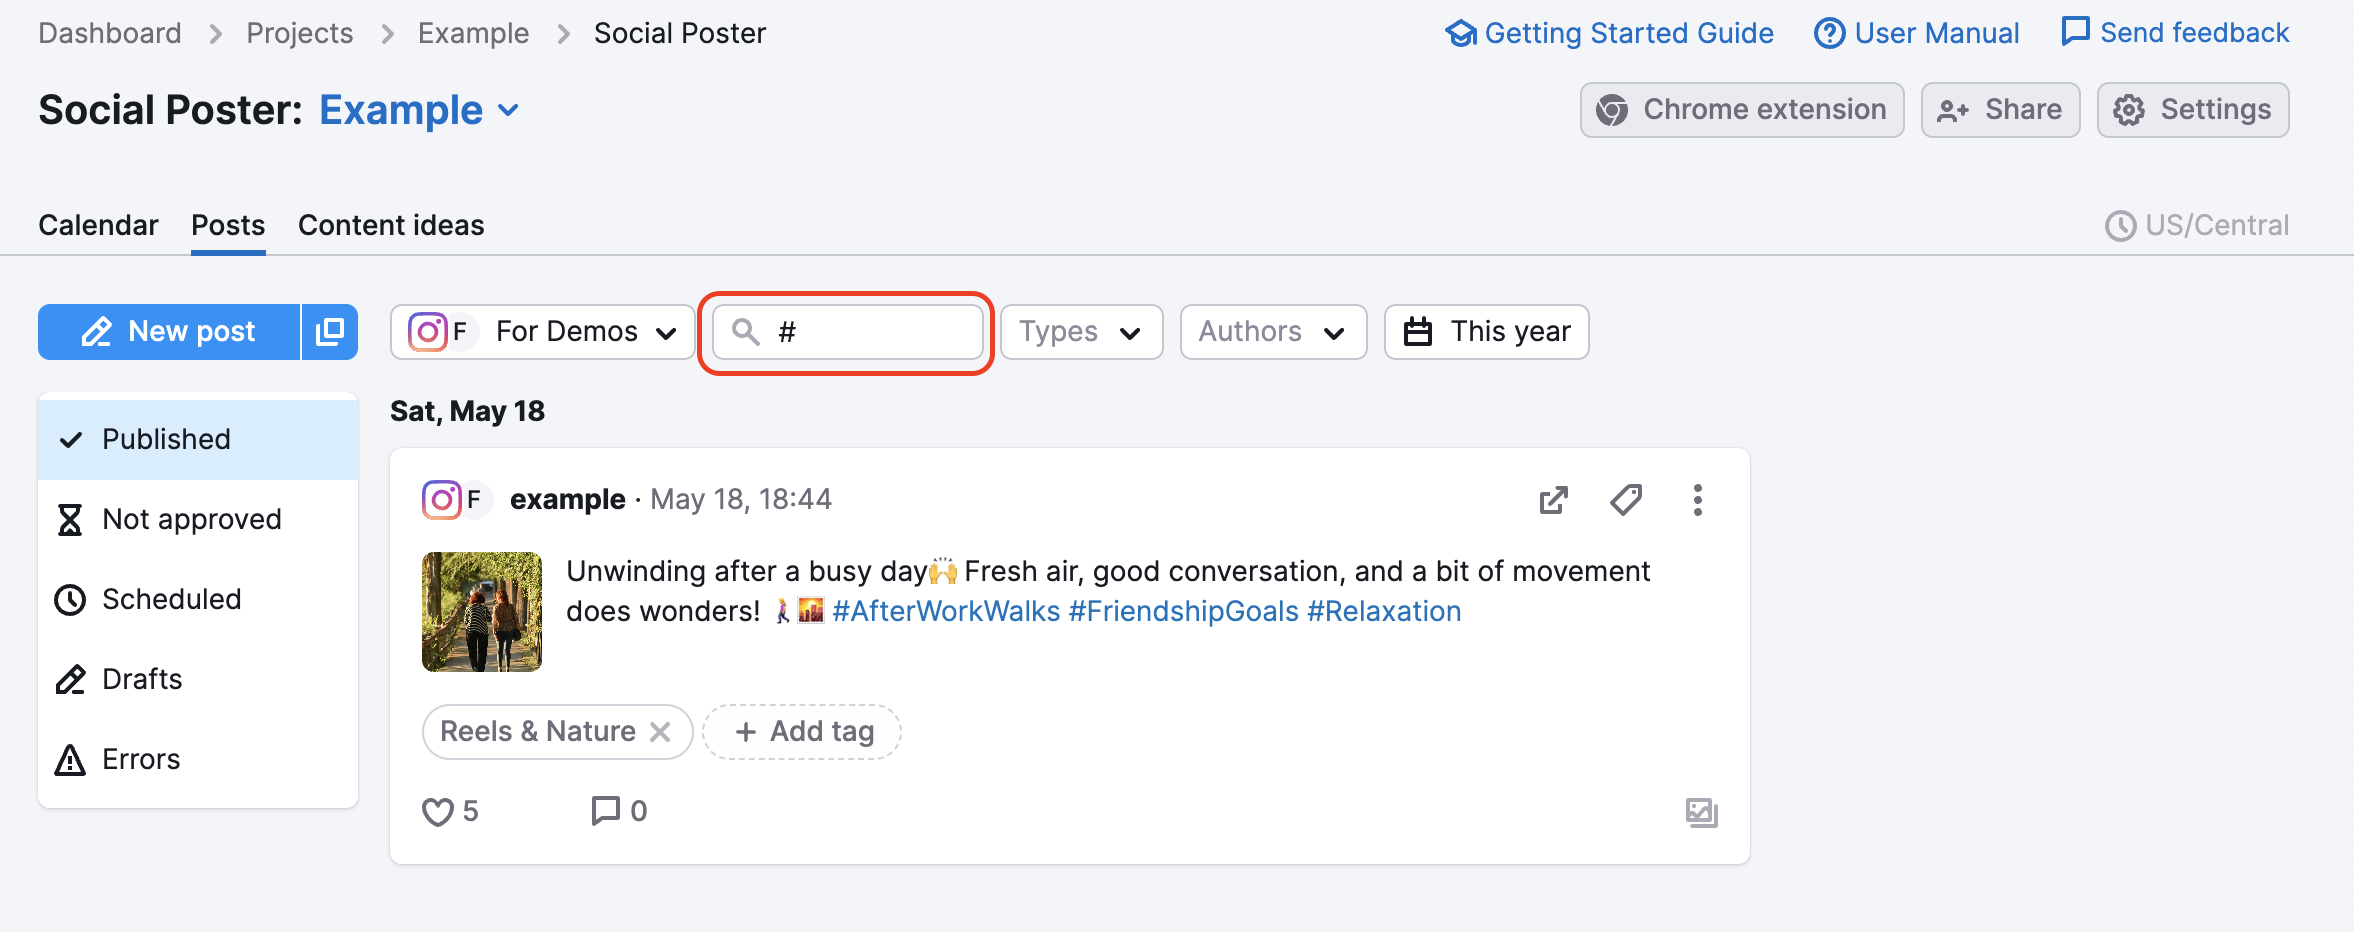
As you run your social campaigns you are going to want to see how your published posts are performing. This is where the Posts tab in Social Poster comes into play. Here you can create drafts, post on your channels, and analyze the statistics that come with each individual post to judge which types of content engage your audience best.
Creating New Drafts
Social Poster lets you create posts on all of your connected accounts. You can post photos, GIFs, hyperlinks with UTMs and Bitly link shorteners, as well as videos.
When creating a new draft you will be able to set up a notification time to remind you that your post is still a draft.
You can set this notification at any time to align it with any other related posts you’re planning. This can help you save time when creating specific campaigns as it allows you to create several posts at once and only post the ones that end up being essential.
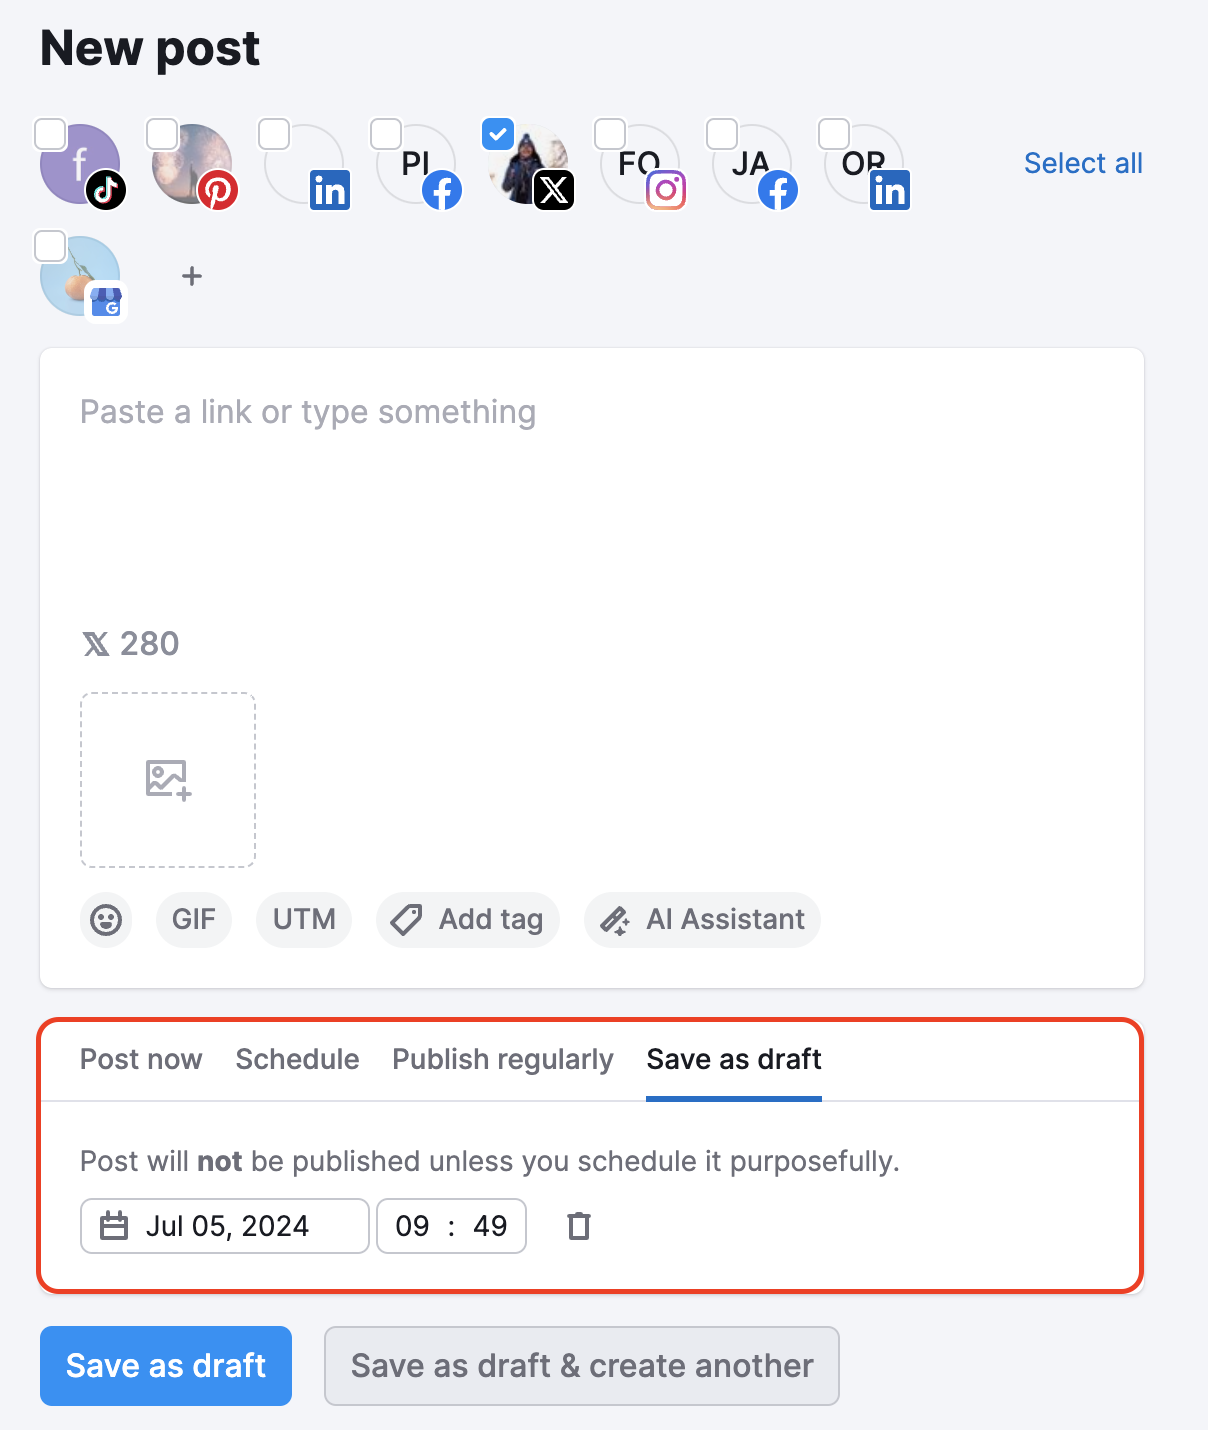
Once the draft is saved, you'll see it in your calendar and can make any further edits or changes from there.
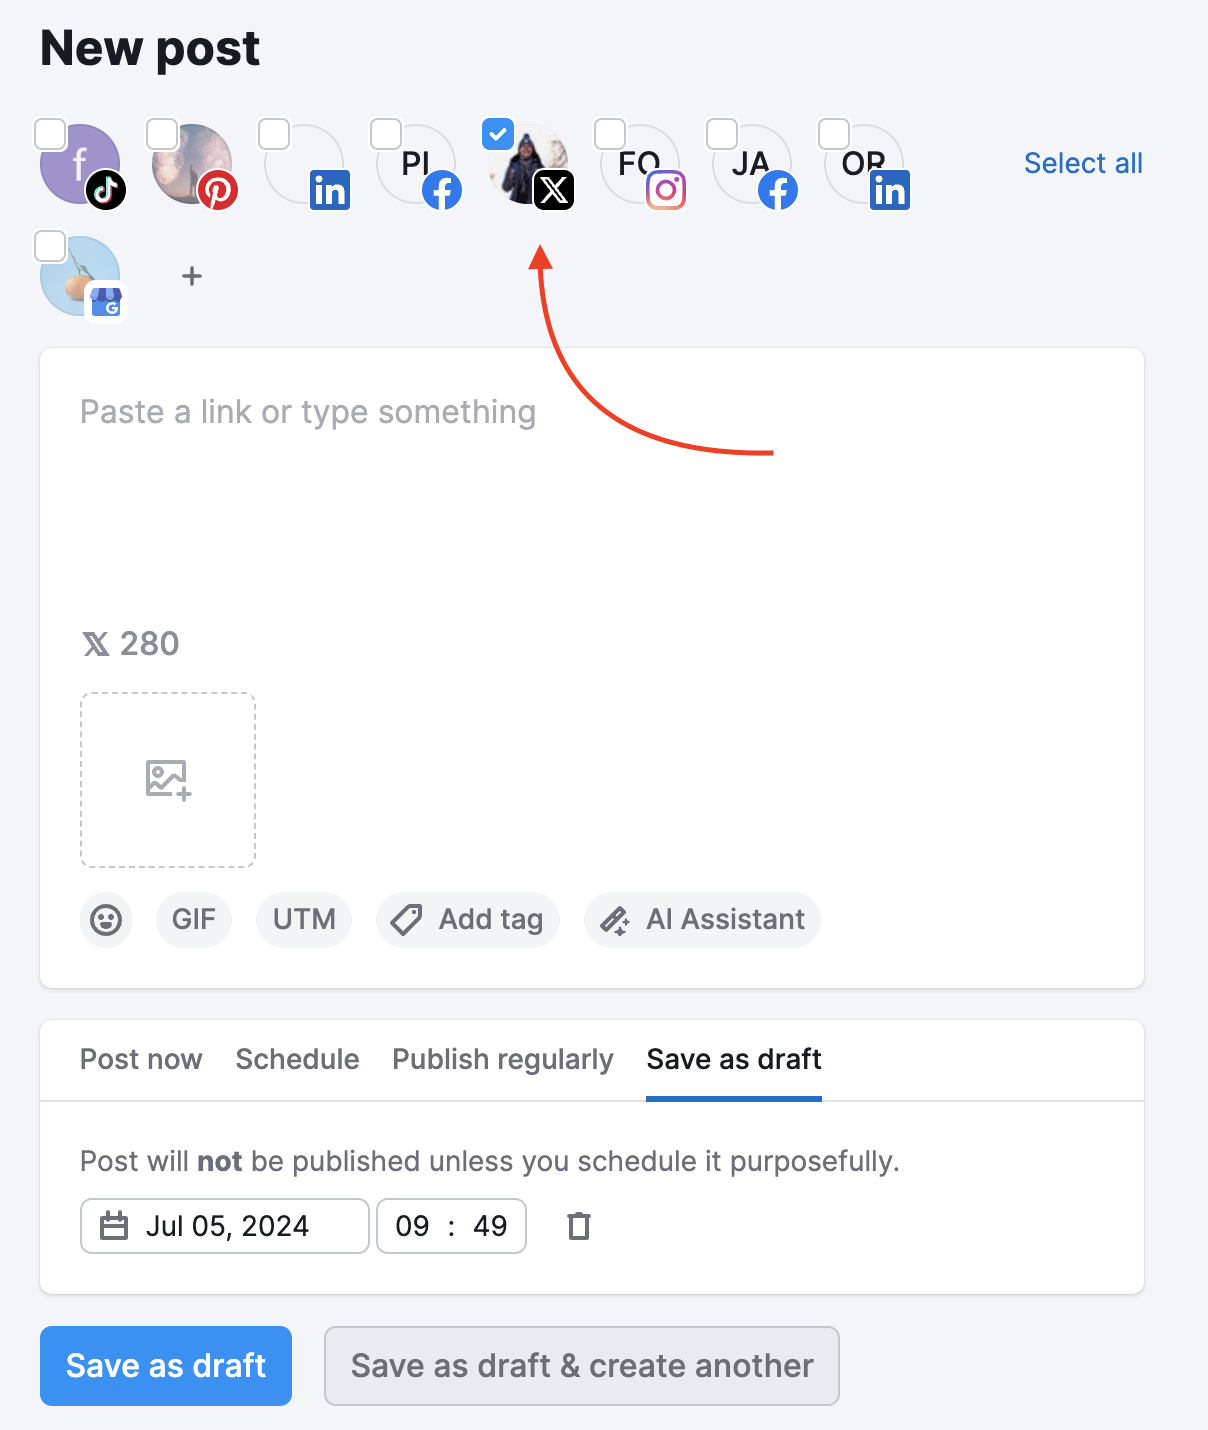
You are able to make edits to drafts in multiple accounts at once in the draft menu. Just navigate to the top of your post and choose which accounts you want to edit the post for.
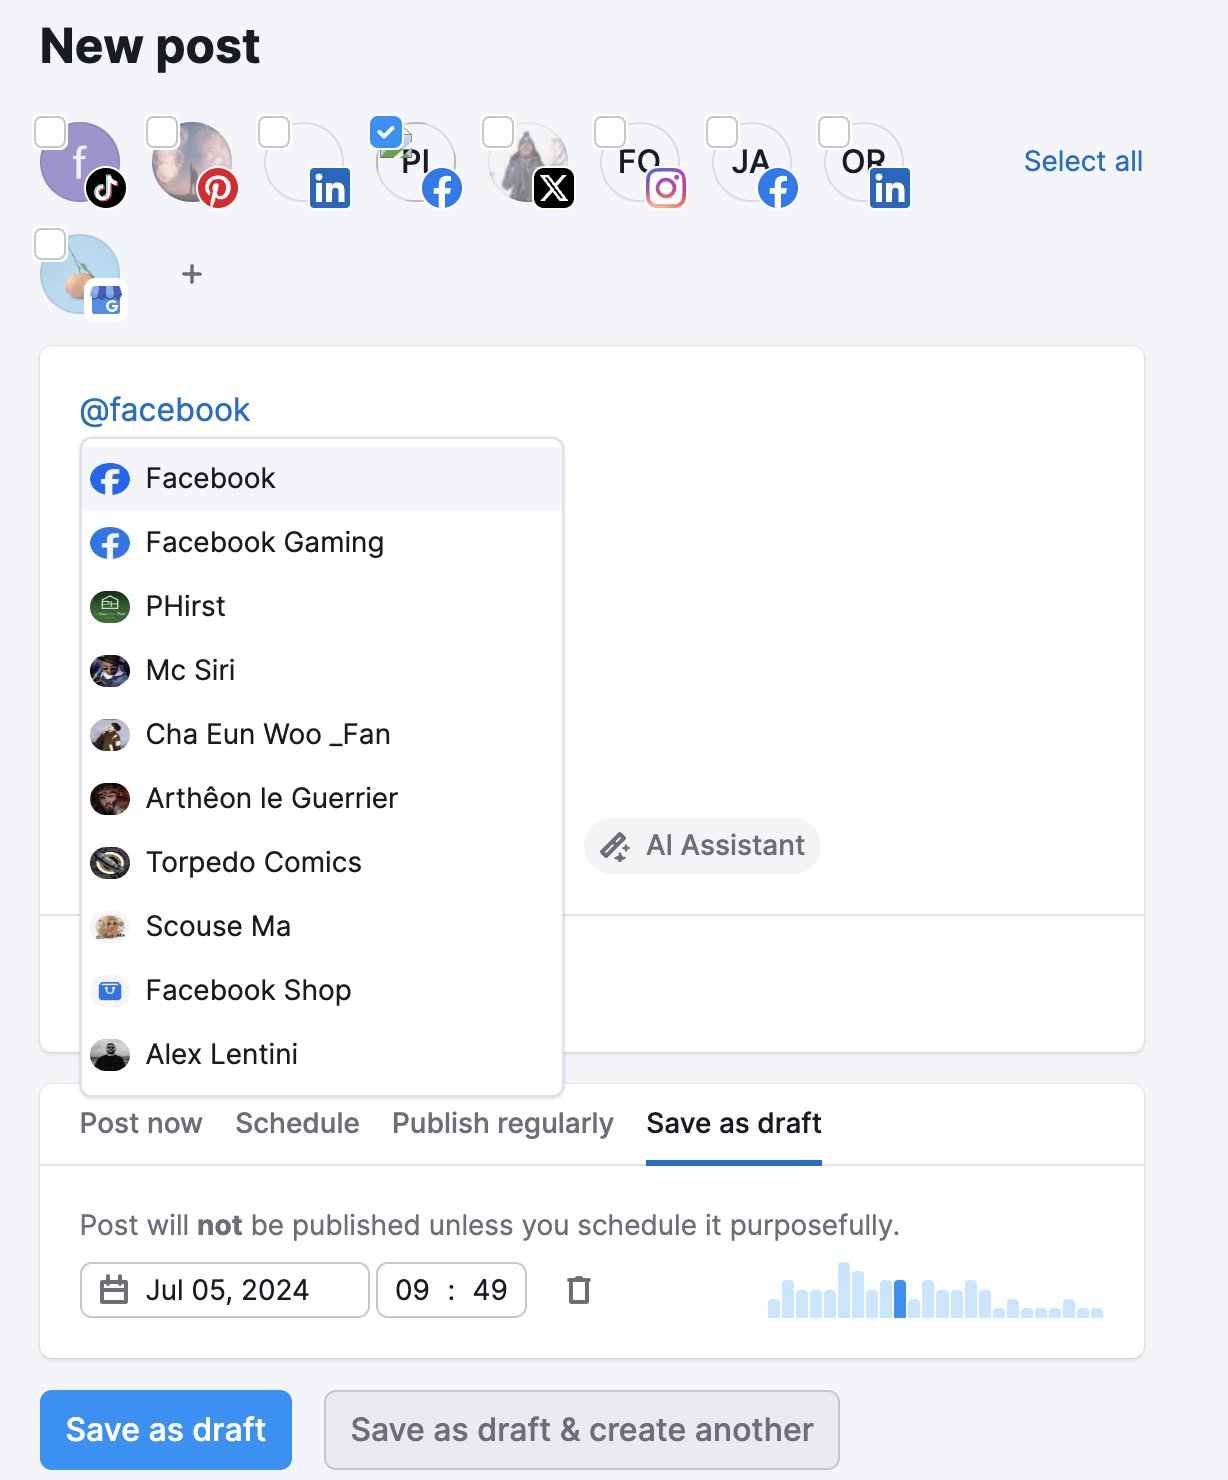
If you need to tag a profile, type "@" and then the profile's or business page's name.
Read more about tagging and restrictions in this article.
Adding UTMs
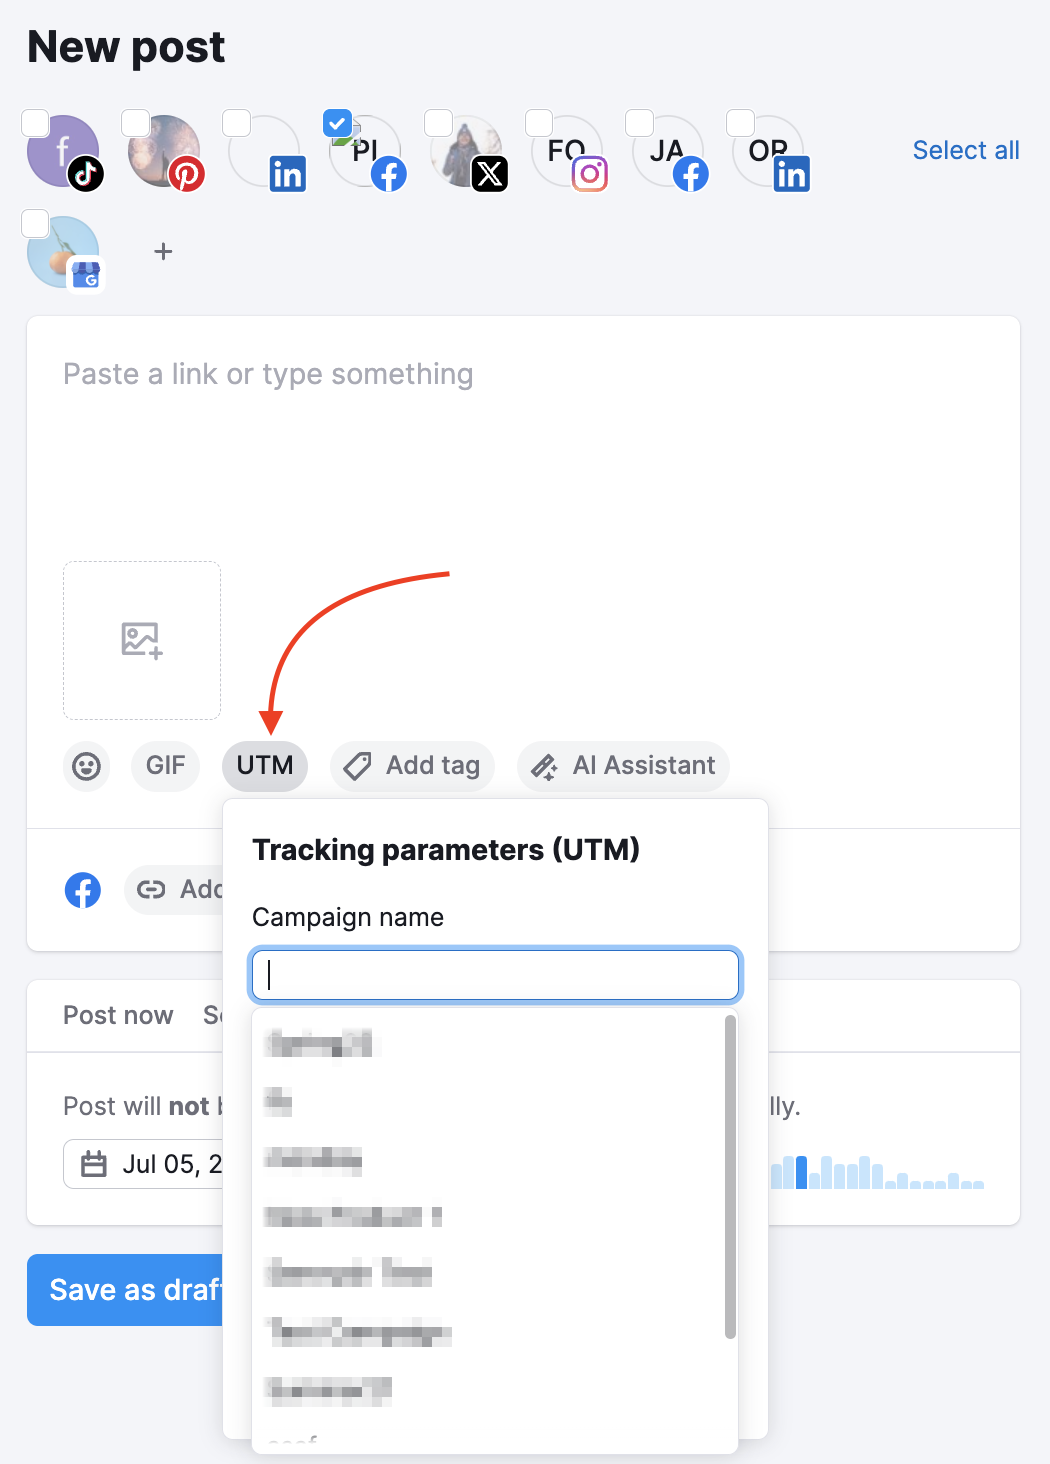
Not only can you edit and schedule drafts but you can also add your own custom UTM directly to your posts. A UTM (urchin traffic monitor) is a special code that you can add to hyperlinks to then later track their specific traffic via Google Analytics.
Here you can enter the campaign name for the UTM, as well as the campaign medium if you wish and the link will automatically contain your UTM.
By adding UTMs to your posts, you’ll be able to use Google Analytics to track the traffic that comes to your website specifically from your social media campaigns. Learn more about UTM tracking with this blog post.
AI Assistant
Quickly and effortlessly create unique, engaging content that follows social media best practices with AI Assistant.
AI Assistant is so simple to use:
1. Click the “AI Assistant” button.
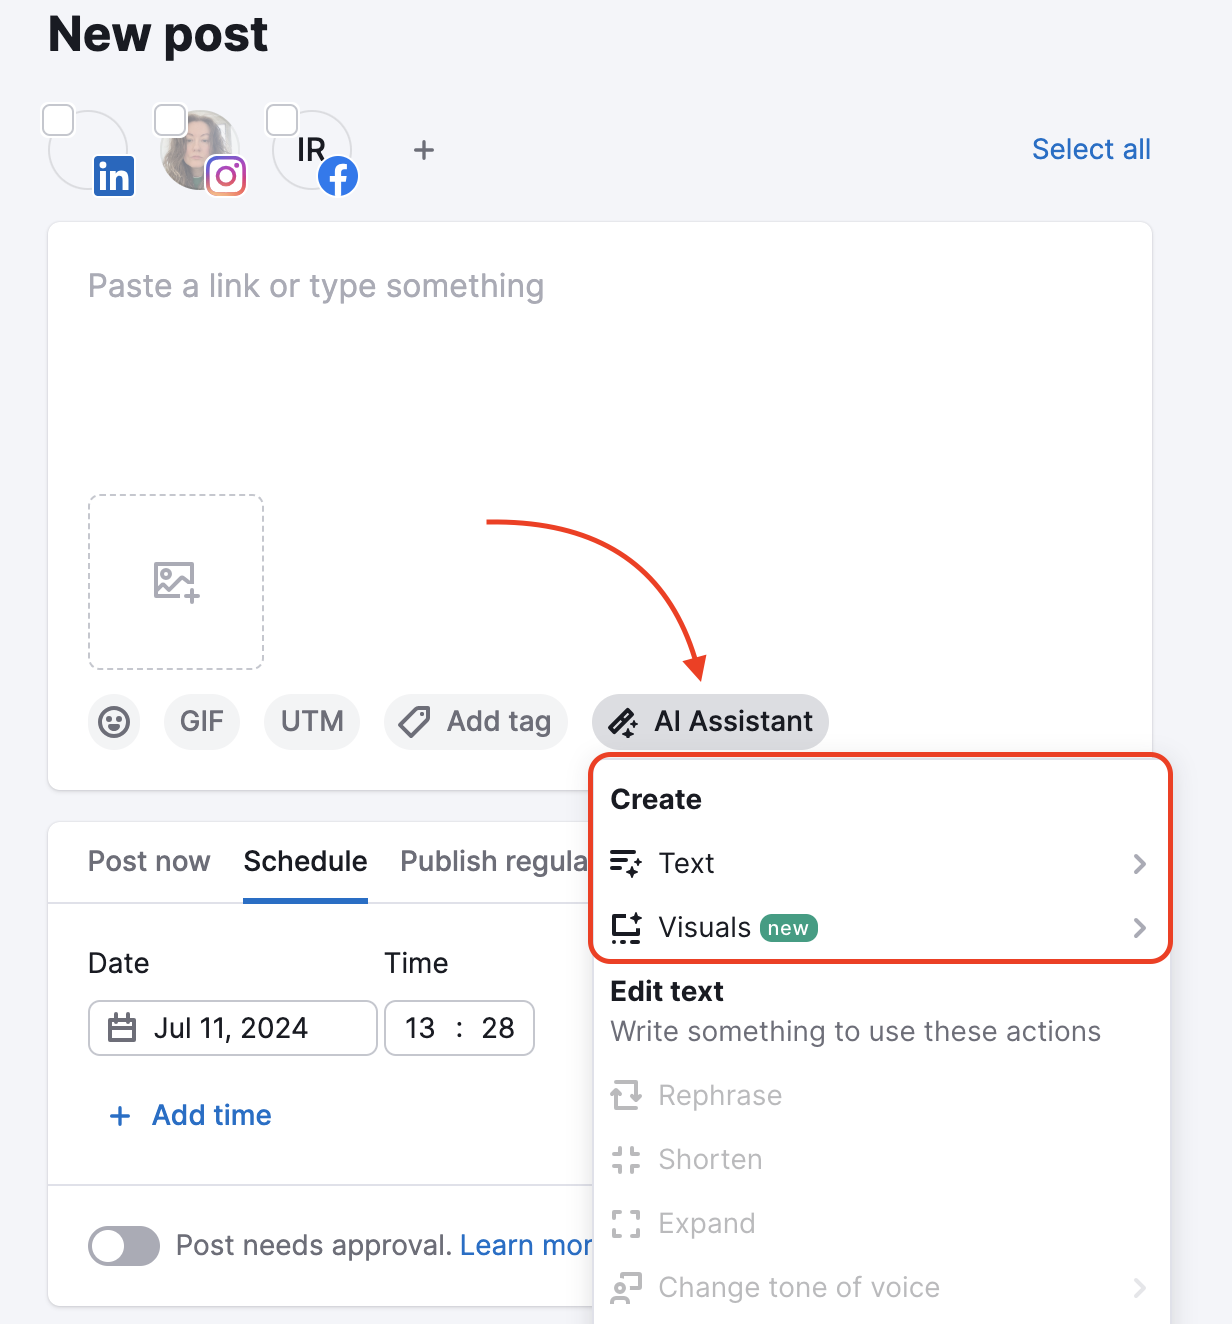
2. Create text from scratch.

3. Add a few words about what you want to write about.
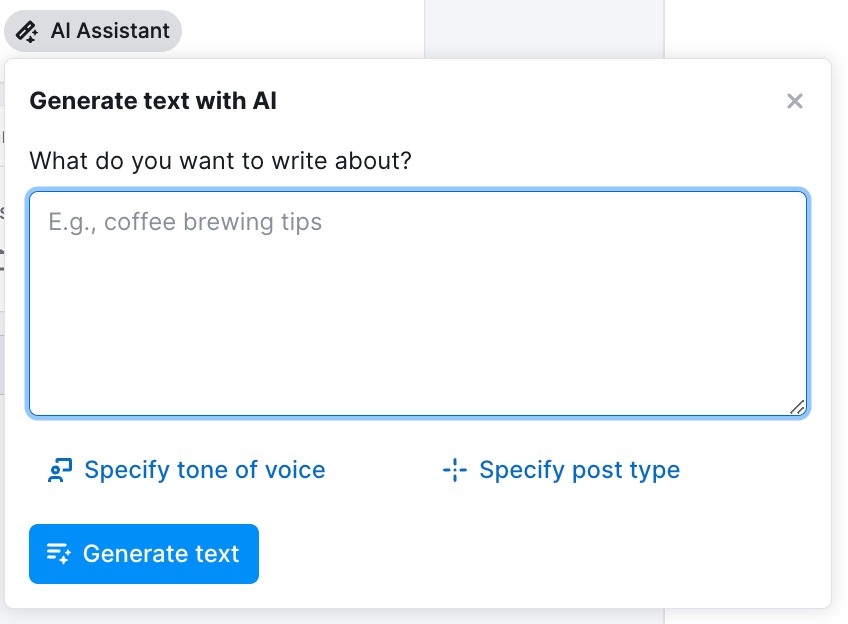
Or turn content from a link into text.
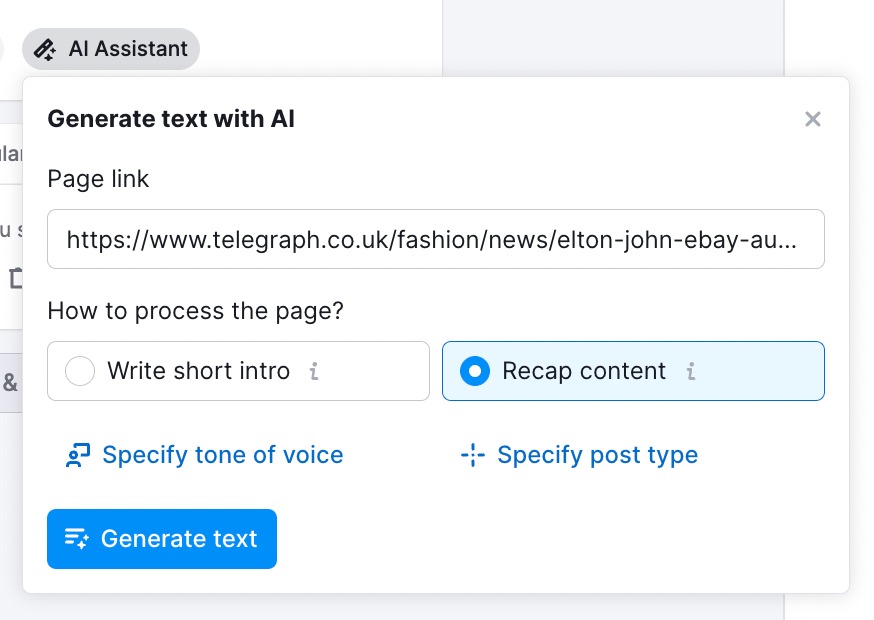
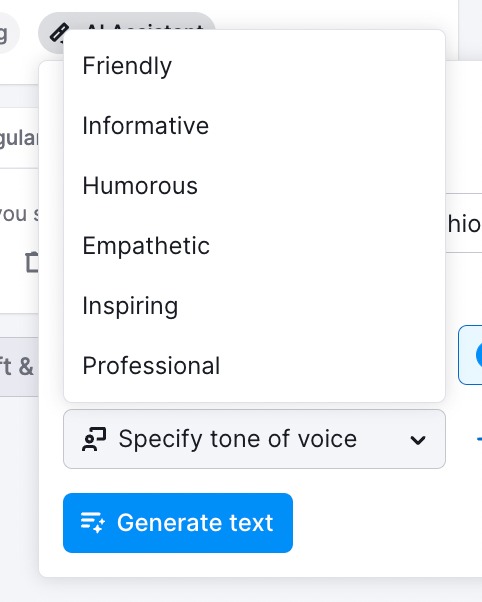
4. Choose tone of voice:
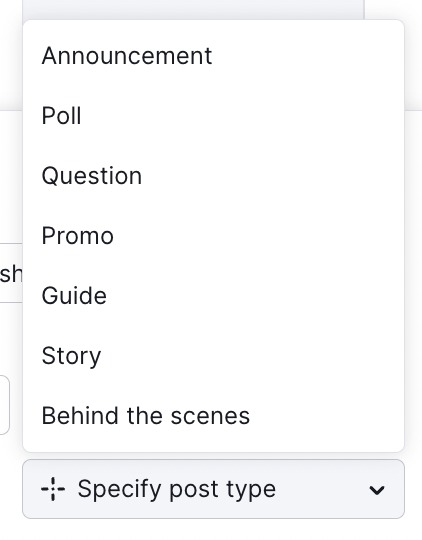
5. Select post type.
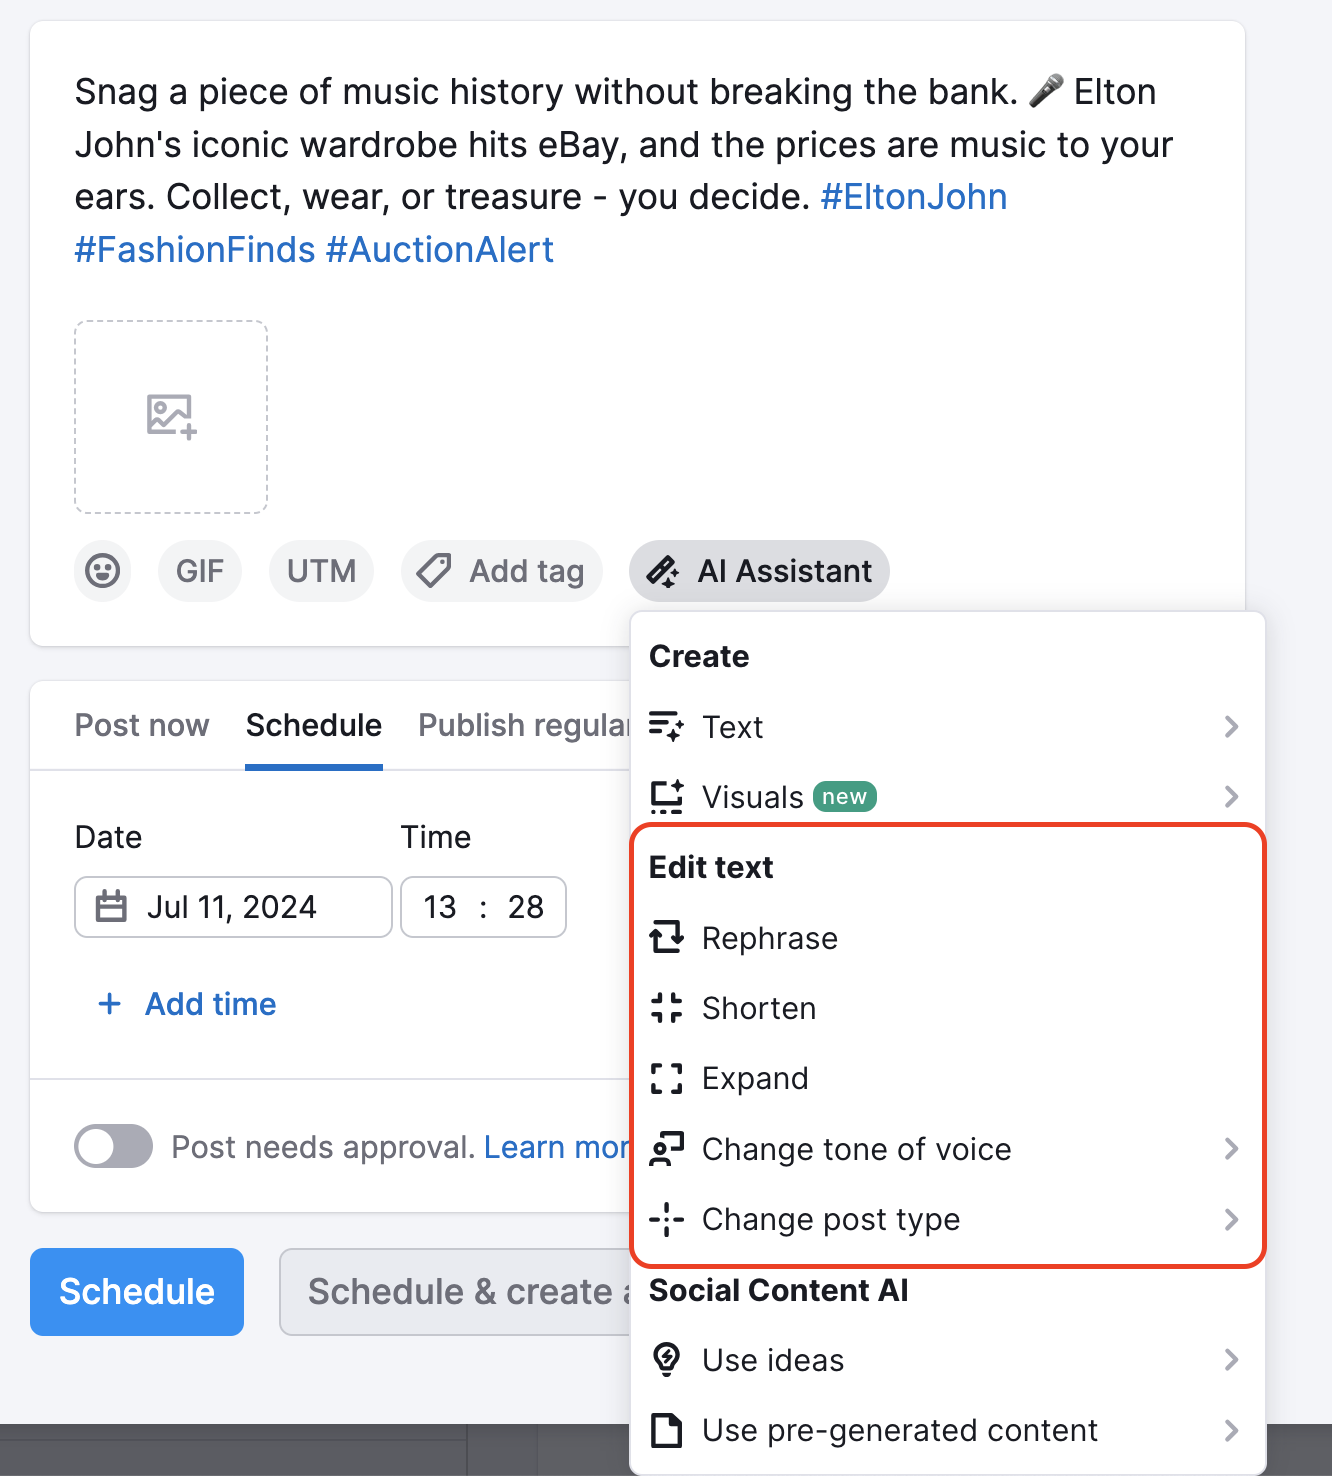
6. Edit text with intuitive options.

7. When text is complete, create visuals with original AI graphics from design templates or by Design Editor.
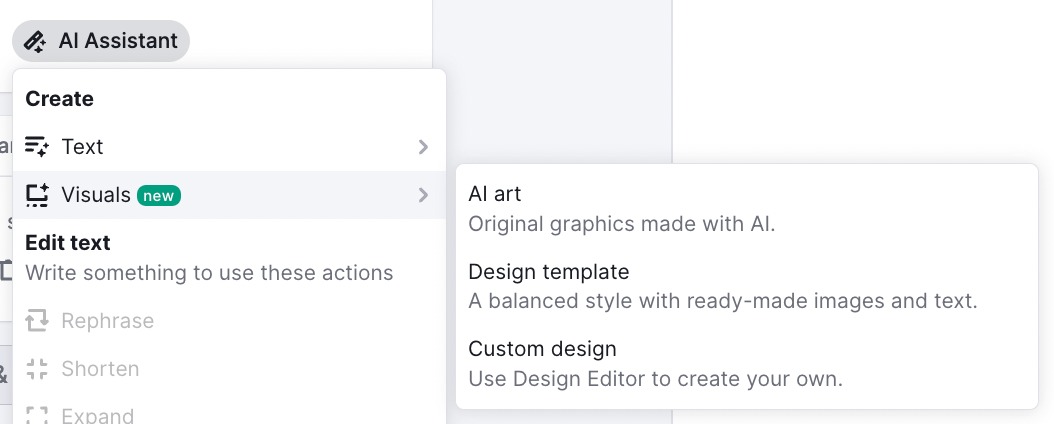
8. You can also create AI images and videos.
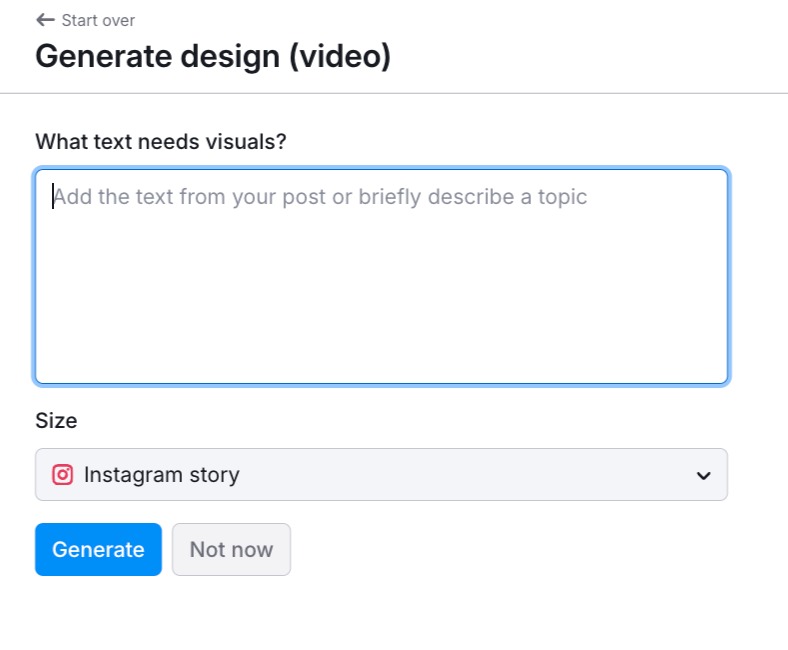
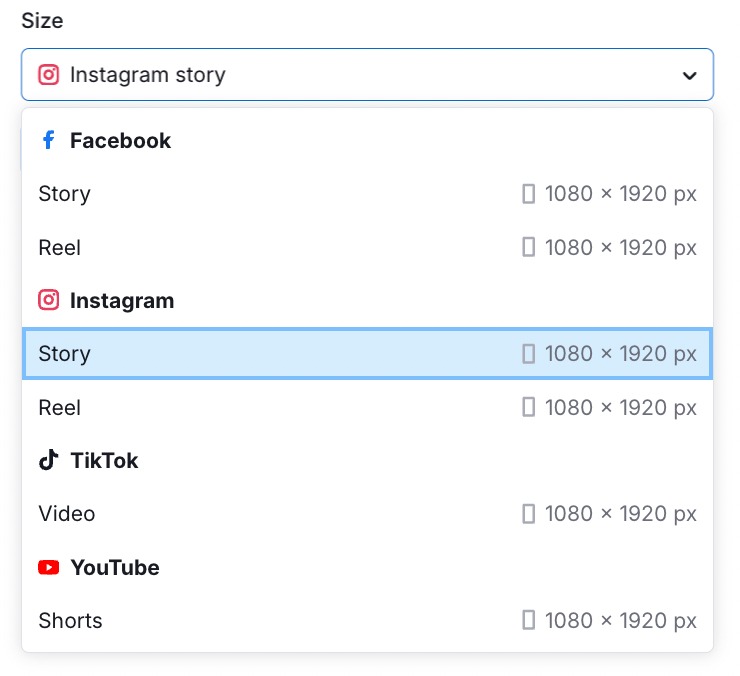
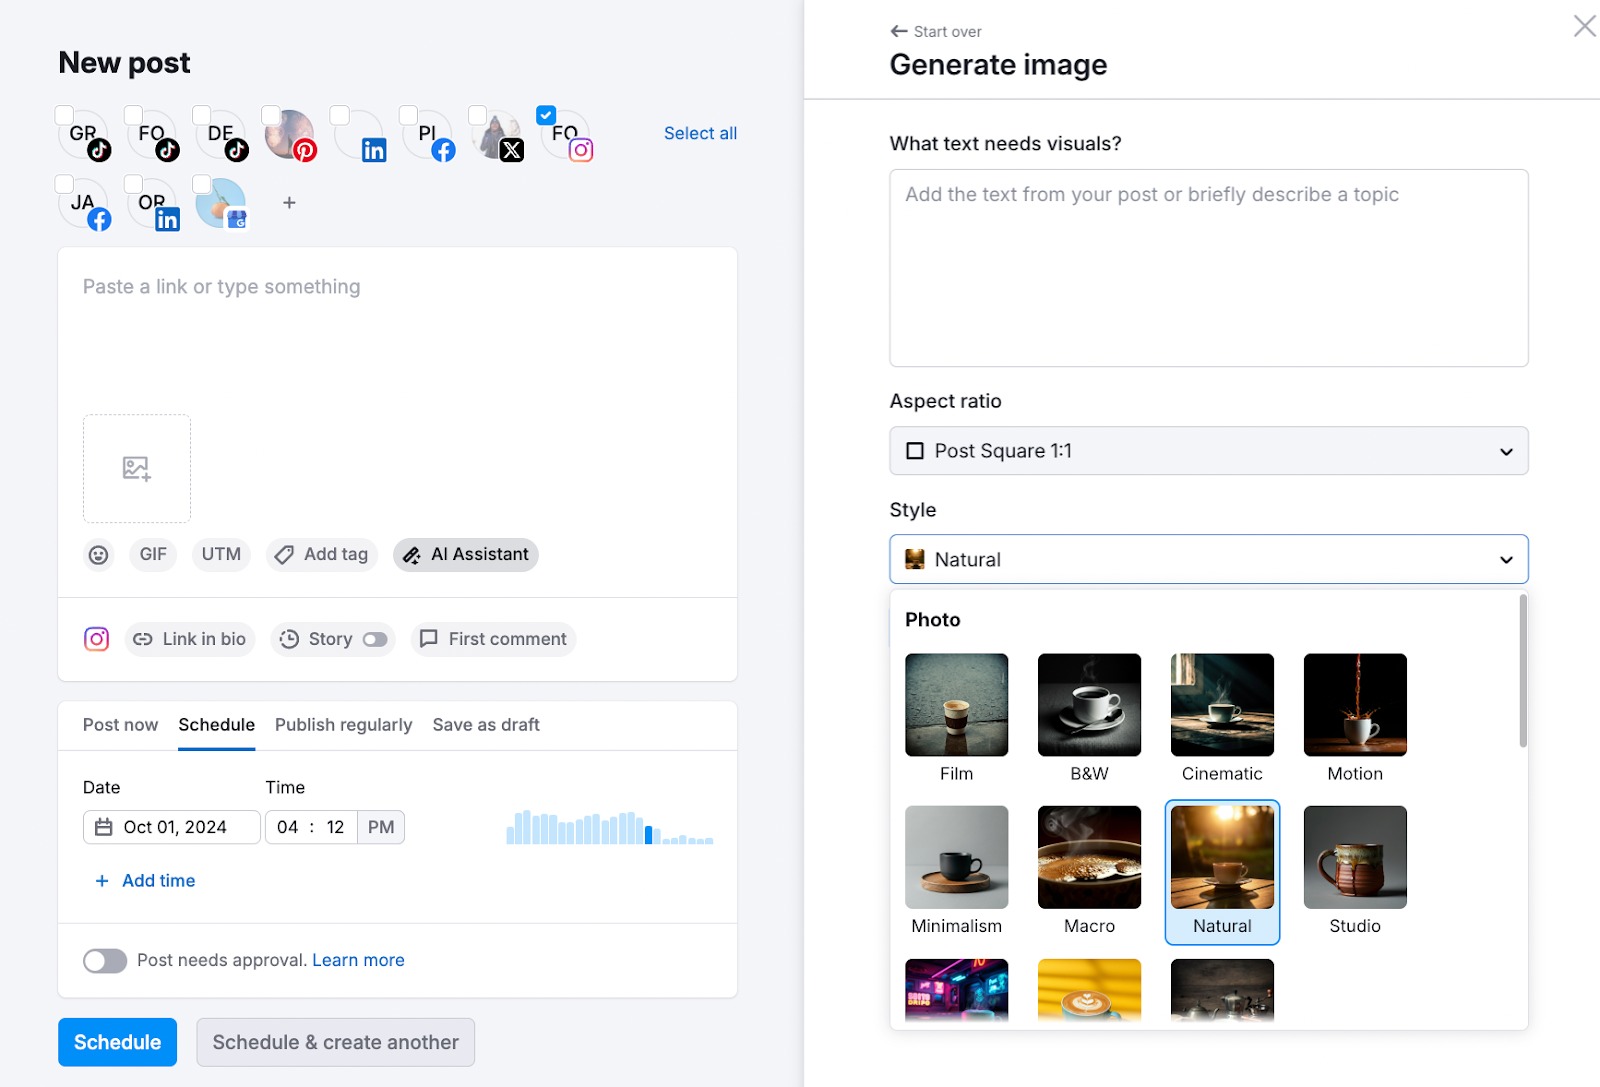
Or create custom designs and generate bespoke AI images from three distinct categories and 23 styles.
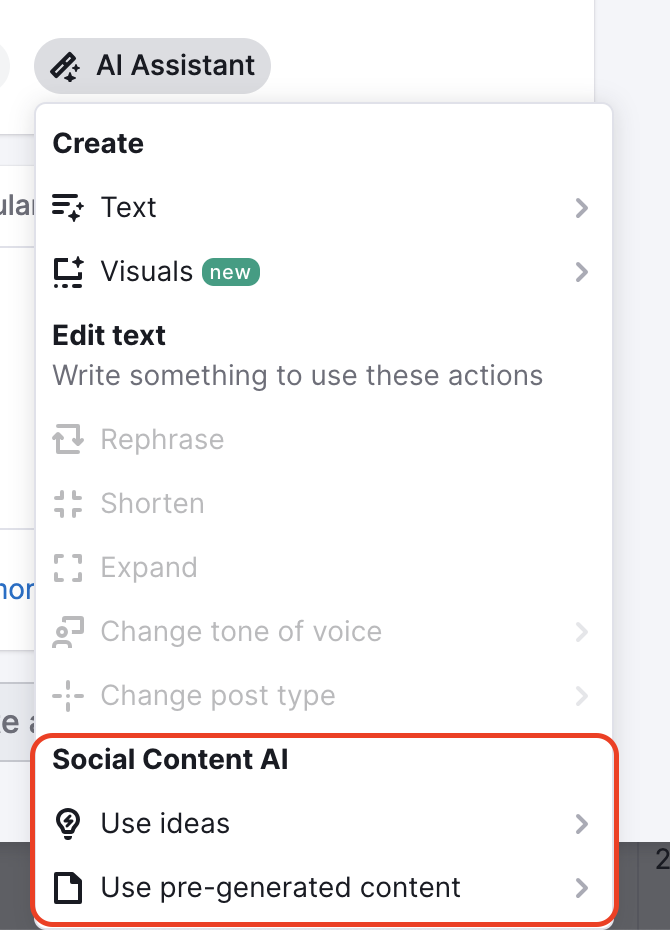
You can also access Social Content AI to help develop your content:
Editing pictures
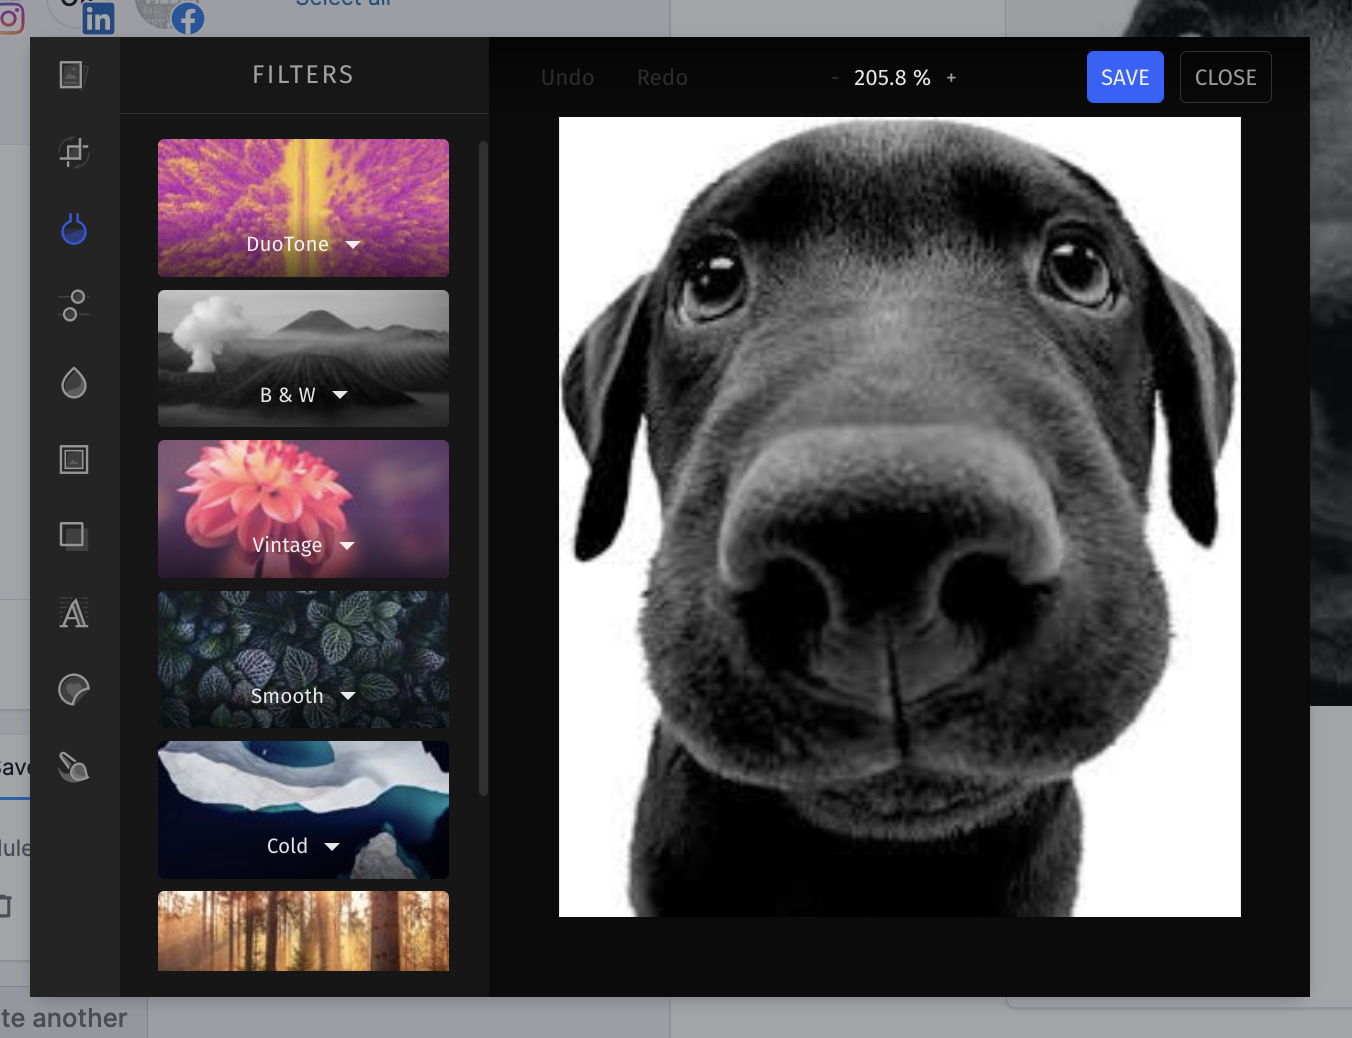
With a paid Semrush account, you can edit the pictures you’ve uploaded to Social Poster, or the images you’ve generated with AI Assistant, without leaving Semrush. It works with all the networks the tool supports. Simply click on your image – this will open the editing wizard with the following features:
- over 60 custom filters
- a set of 20 preset overlay features to create lighting effects
- brightness, contrast, and clarity adjustment
- preset cropping ratios, flipping, and rotation
- an extensive font library to add text to any picture or creative
- a categorized sticker library
- a wide choice of frames and a customizable brush tool
Please note: X (Twitter) and LinkedIn limit the size of the static image that can be uploaded to 3 and 2 MB accordingly. Instagram limit is 8 MB. Besides that, X (Twitter) doesn’t support GIF files bigger than 15 MB. That is why the size of the image that is added to a draft shouldn’t exceed 20 MB. For easier editing, Social Poster will resize your image in accordance with the requirements of the social network you choose automatically.
Content Tagging
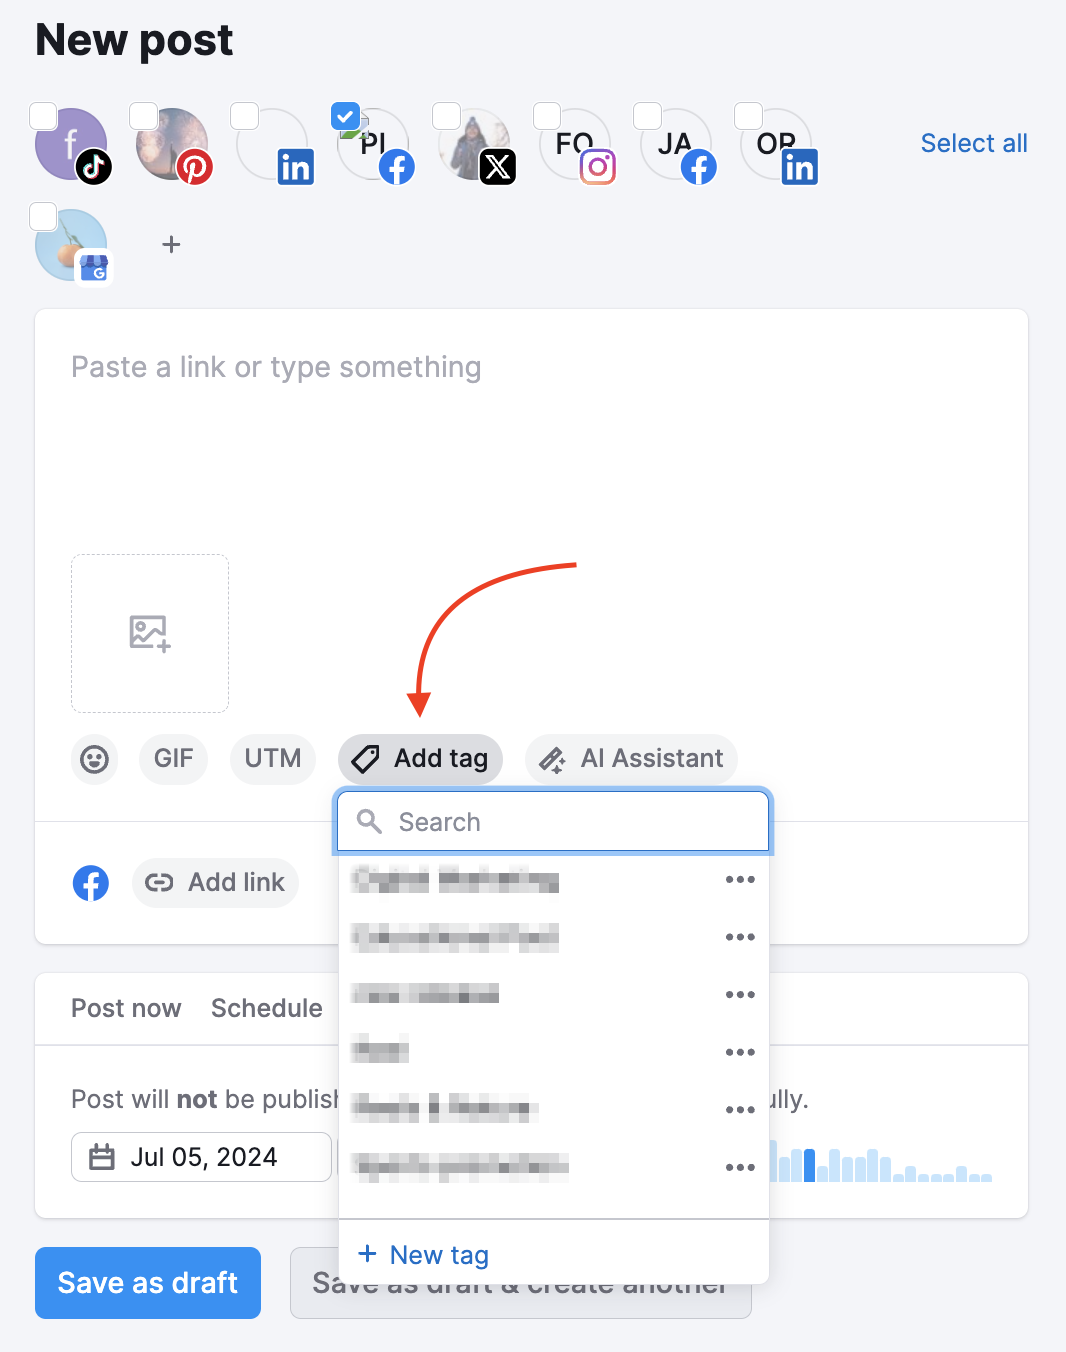
Add a tag to your post from your existing content tags or create a new one.
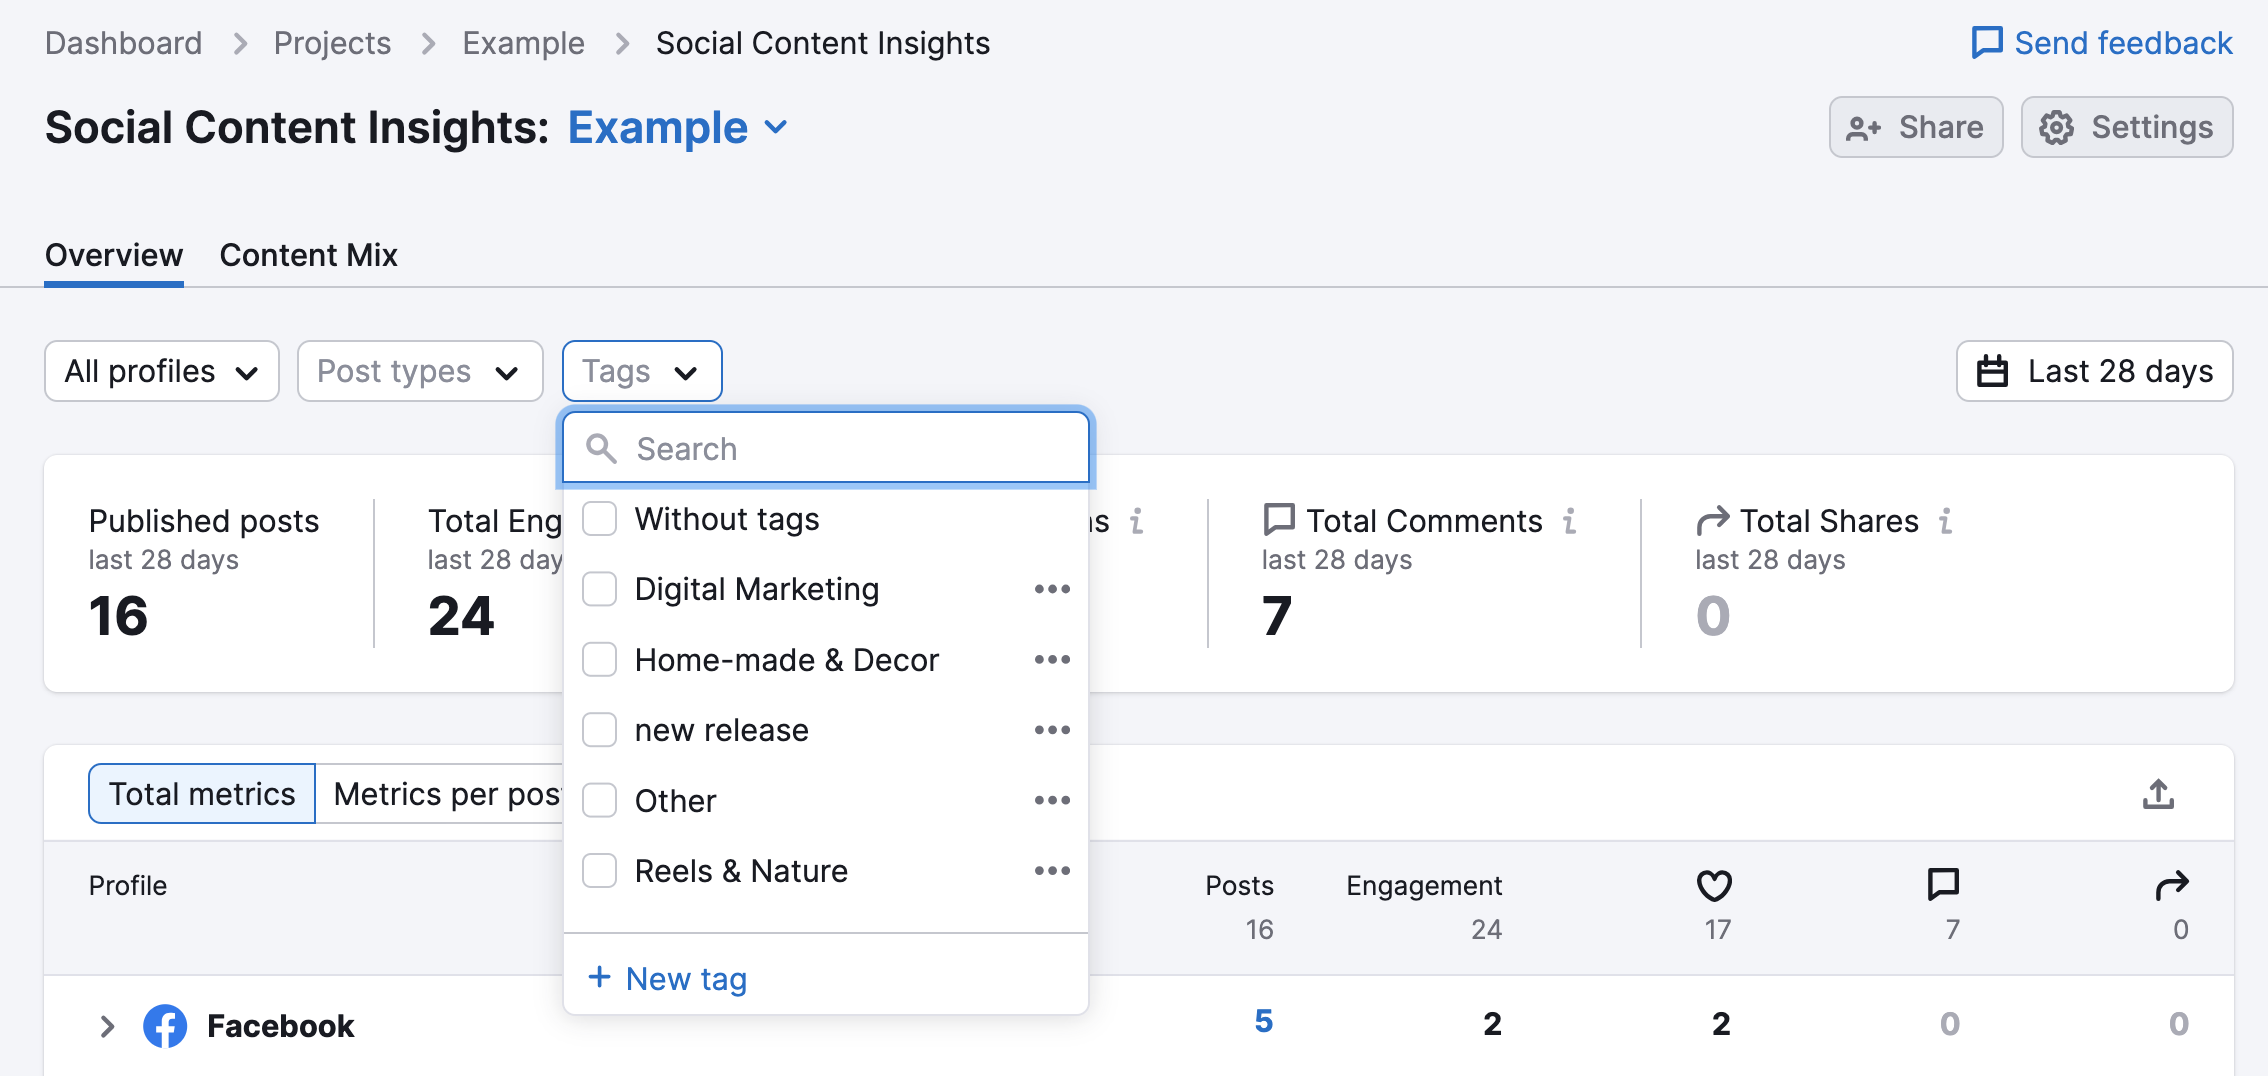
You can filter through these content tags in Social Content Insights, which will allow you to understand which posts resonate most with your audience, and use these insights to fine-tune your social strategy and boost engagement.
Bitly Integration
If you are creating a new post that has a link to it, you can automatically shorten that link through integration with Bitly. This can help tidy up the way your posts look and avoid having unsightly, overlong links.
When creating a new post that contains a link Social Poster will instantly shorten up the link when entering it in the post creation window.
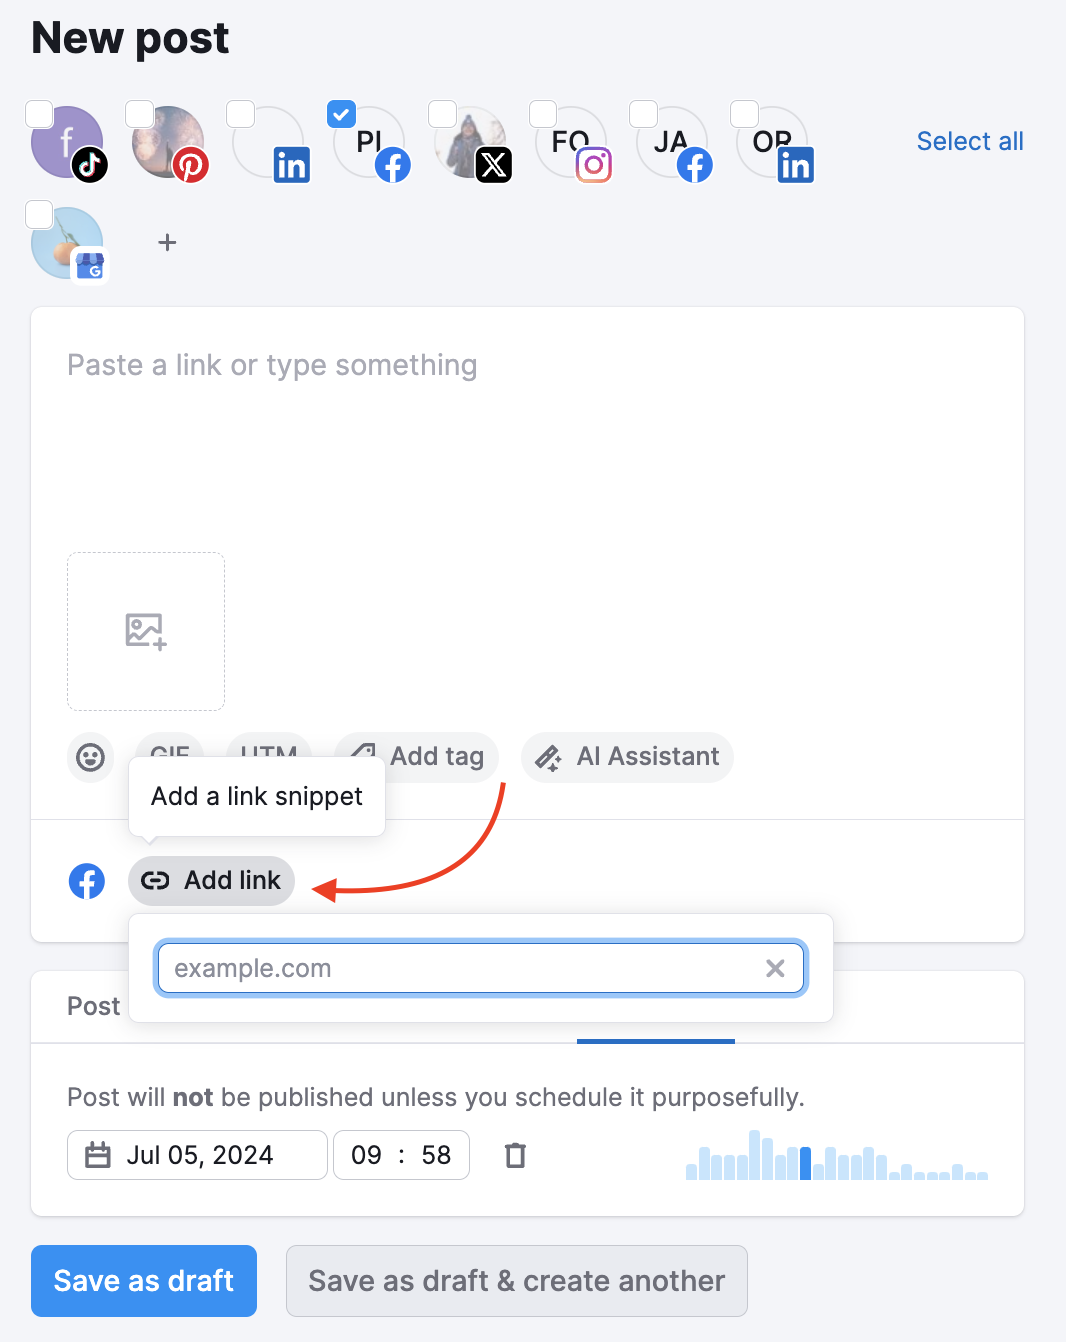
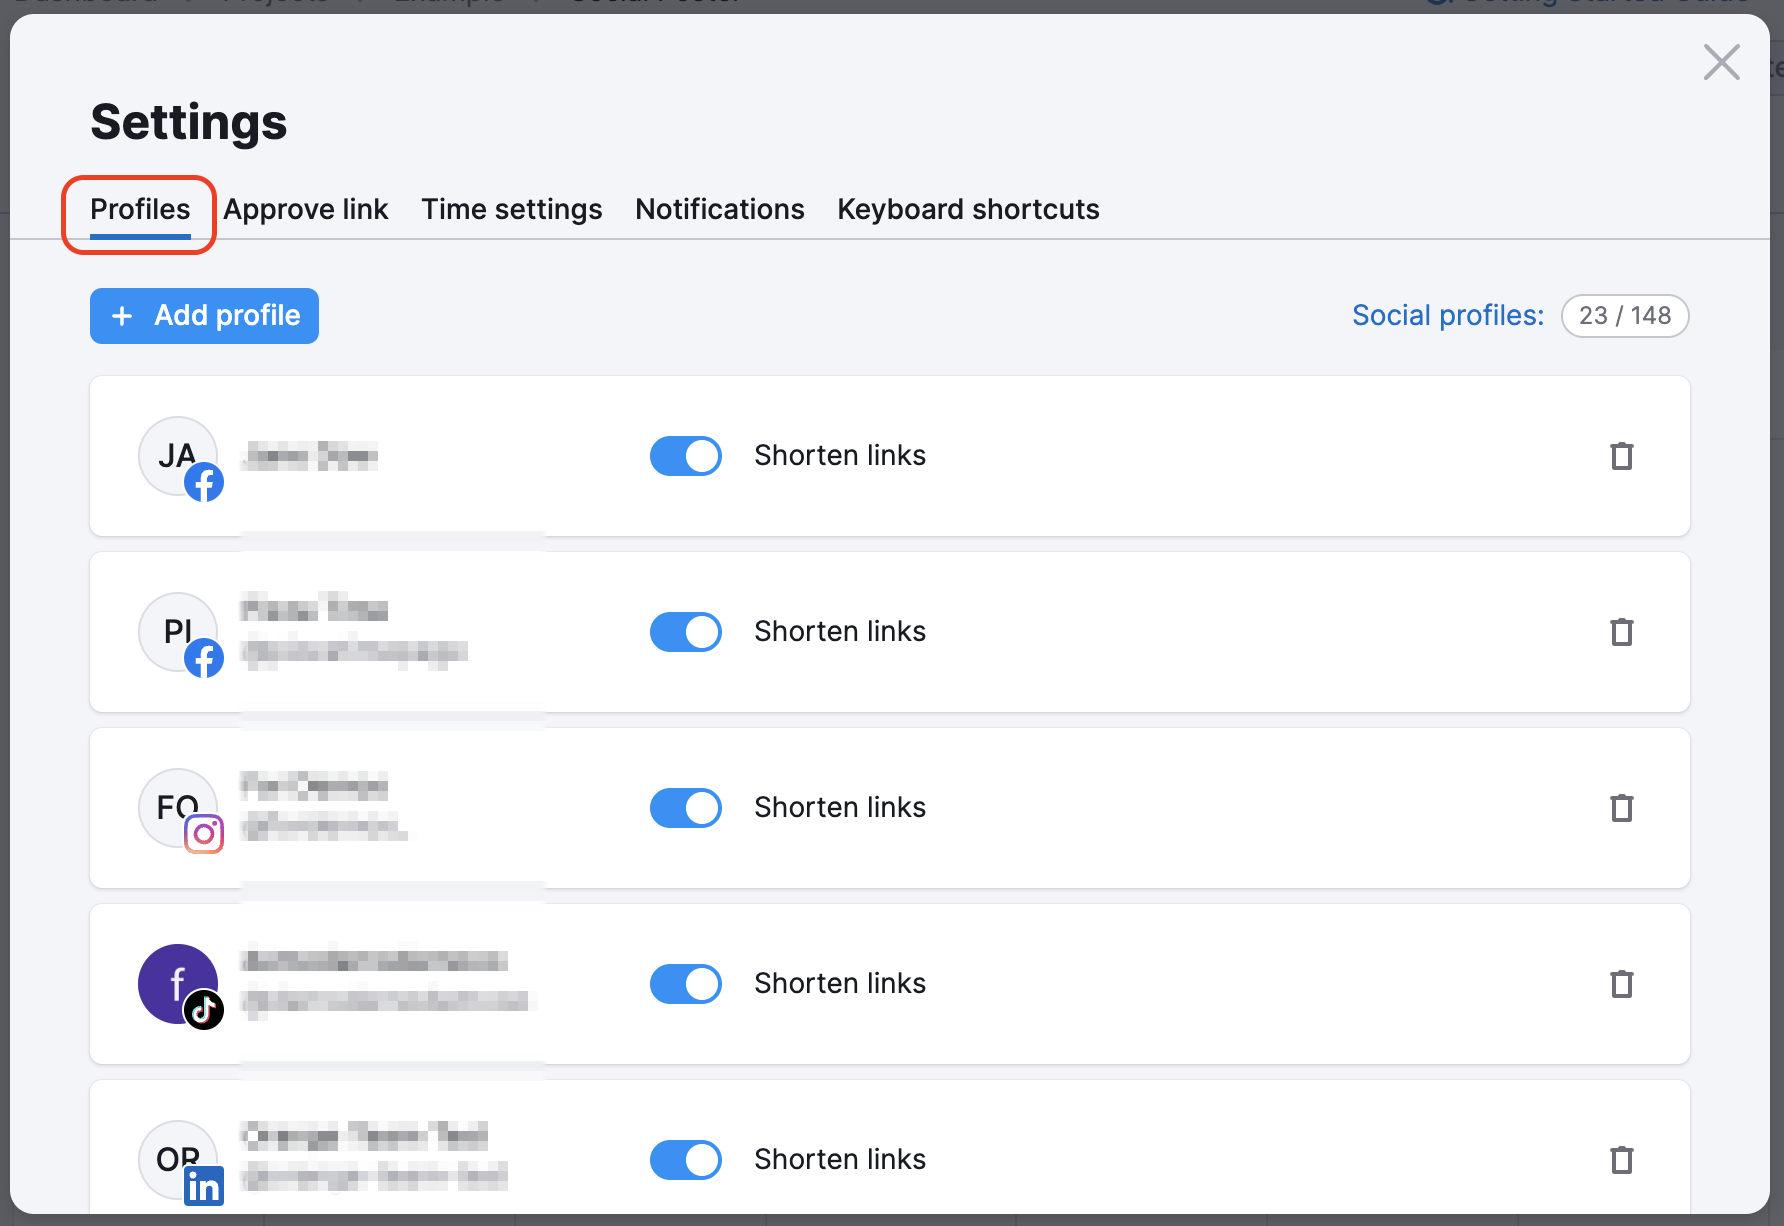
At any time you can decide whether or not you want Social Poster to shorten any links in the future. This can be done in your settings, under your profiles and queue tab.
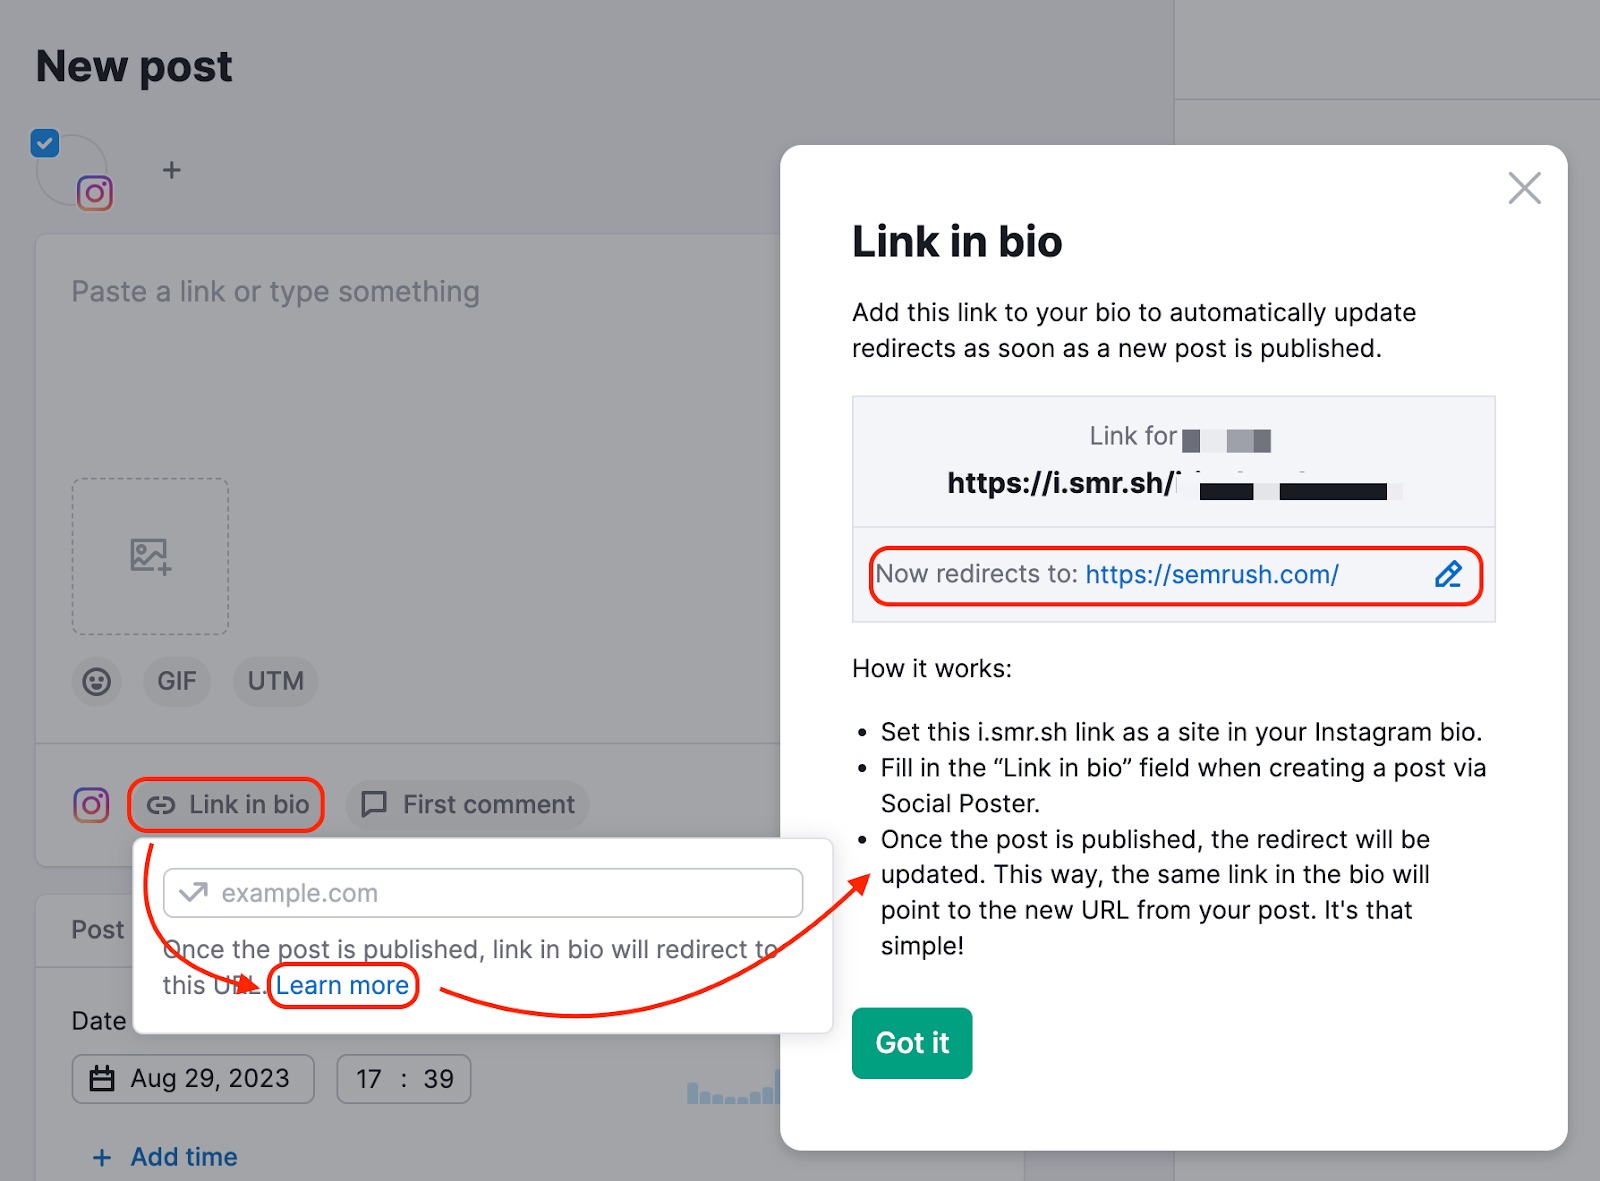
Additionally, you can add a “Link in bio” to your Instagram account. When you schedule a post, click the “Link in bio” button, then “Learn more” and follow the instructions in the pop-up window:
- Set this i.smr.sh link as a site in your Instagram bio.
- Fill in the “Link in bio” field when creating a post via Social Poster (example.com).
- Once the post is published, the redirect will be updated. This way, the same link in the bio will point to the new URL from your post.
Please note that, at the moment, there's no option to integrate your paid Bitly account into Social Poster.
Approve a Post
When you are done creating a post, you can either schedule it for a specific date and time or make sure it is approved by your team or your client first.
Toggling the “Post needs approval” switch under the post settings allows you to generate a unique link. Those who receive it can view and approve publications from Social Poster even without a Semrush account.
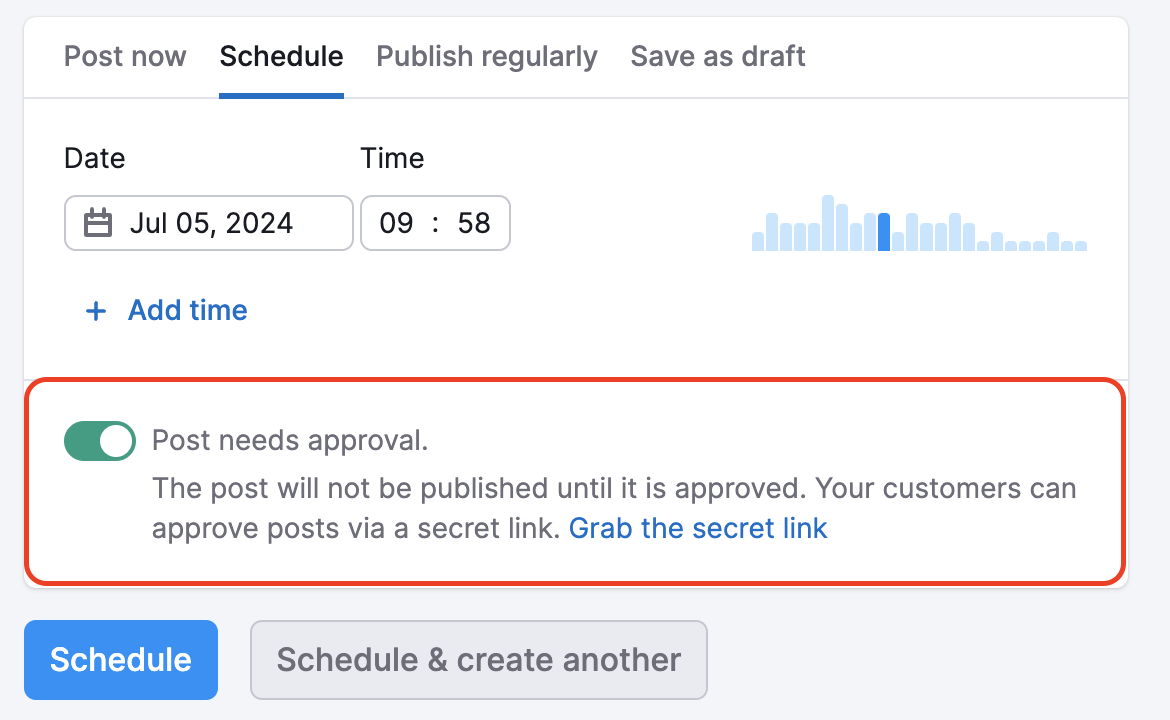
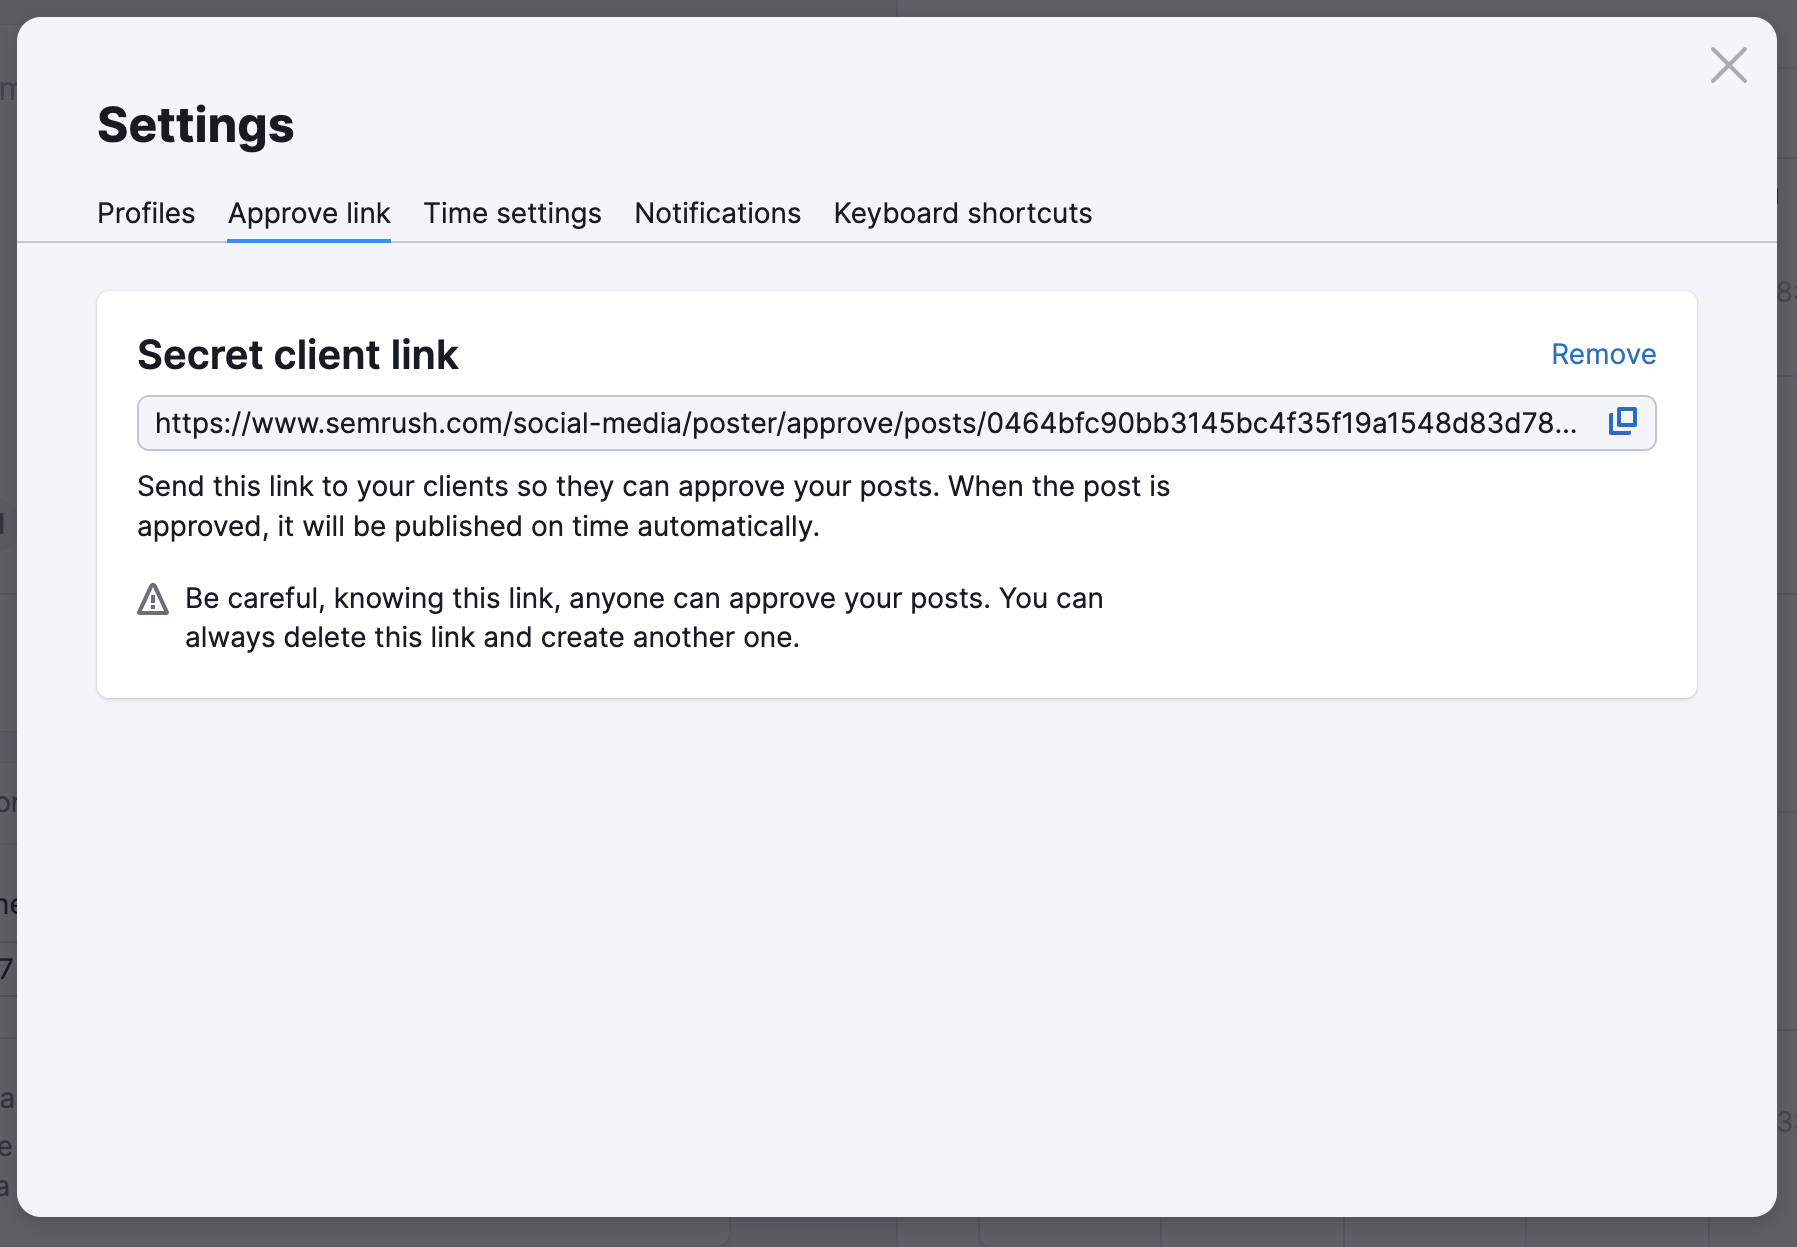
This option works for multiple posts as well, so instead of generating a link for each new post you only need to toggle the “Post needs approval” option. After following the link, a user is able to approve your posts one by one or all of them at once.
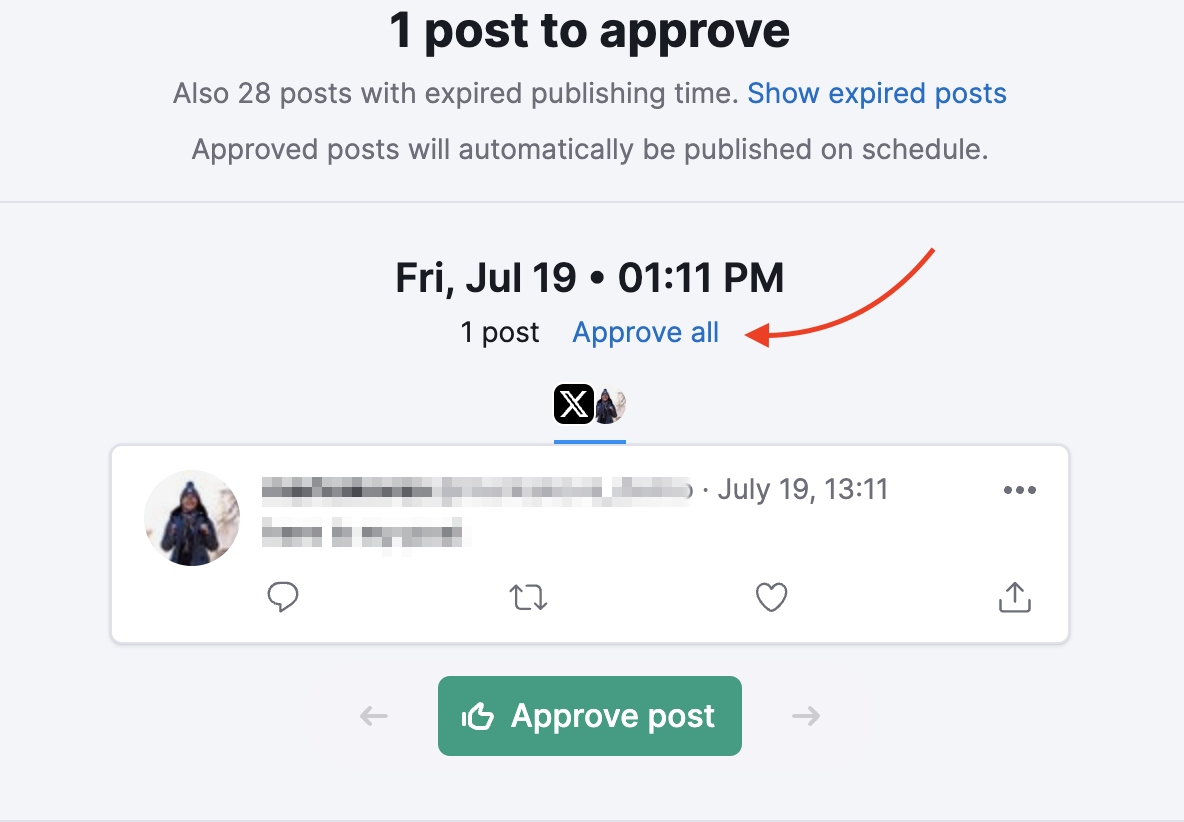
Please note that, for now, there’s no option to edit or add comments to a post that is sent for approval.
Track and Analyze Your Posts
You can track analytics for your X (Twitter) posts, Facebook posts, and Instagram. Once a post is published, it will automatically appear in the Posts tab once your page is refreshed.
Similarly, if any post is removed from your account, Semrush will reflect that as well -- everything is connected.
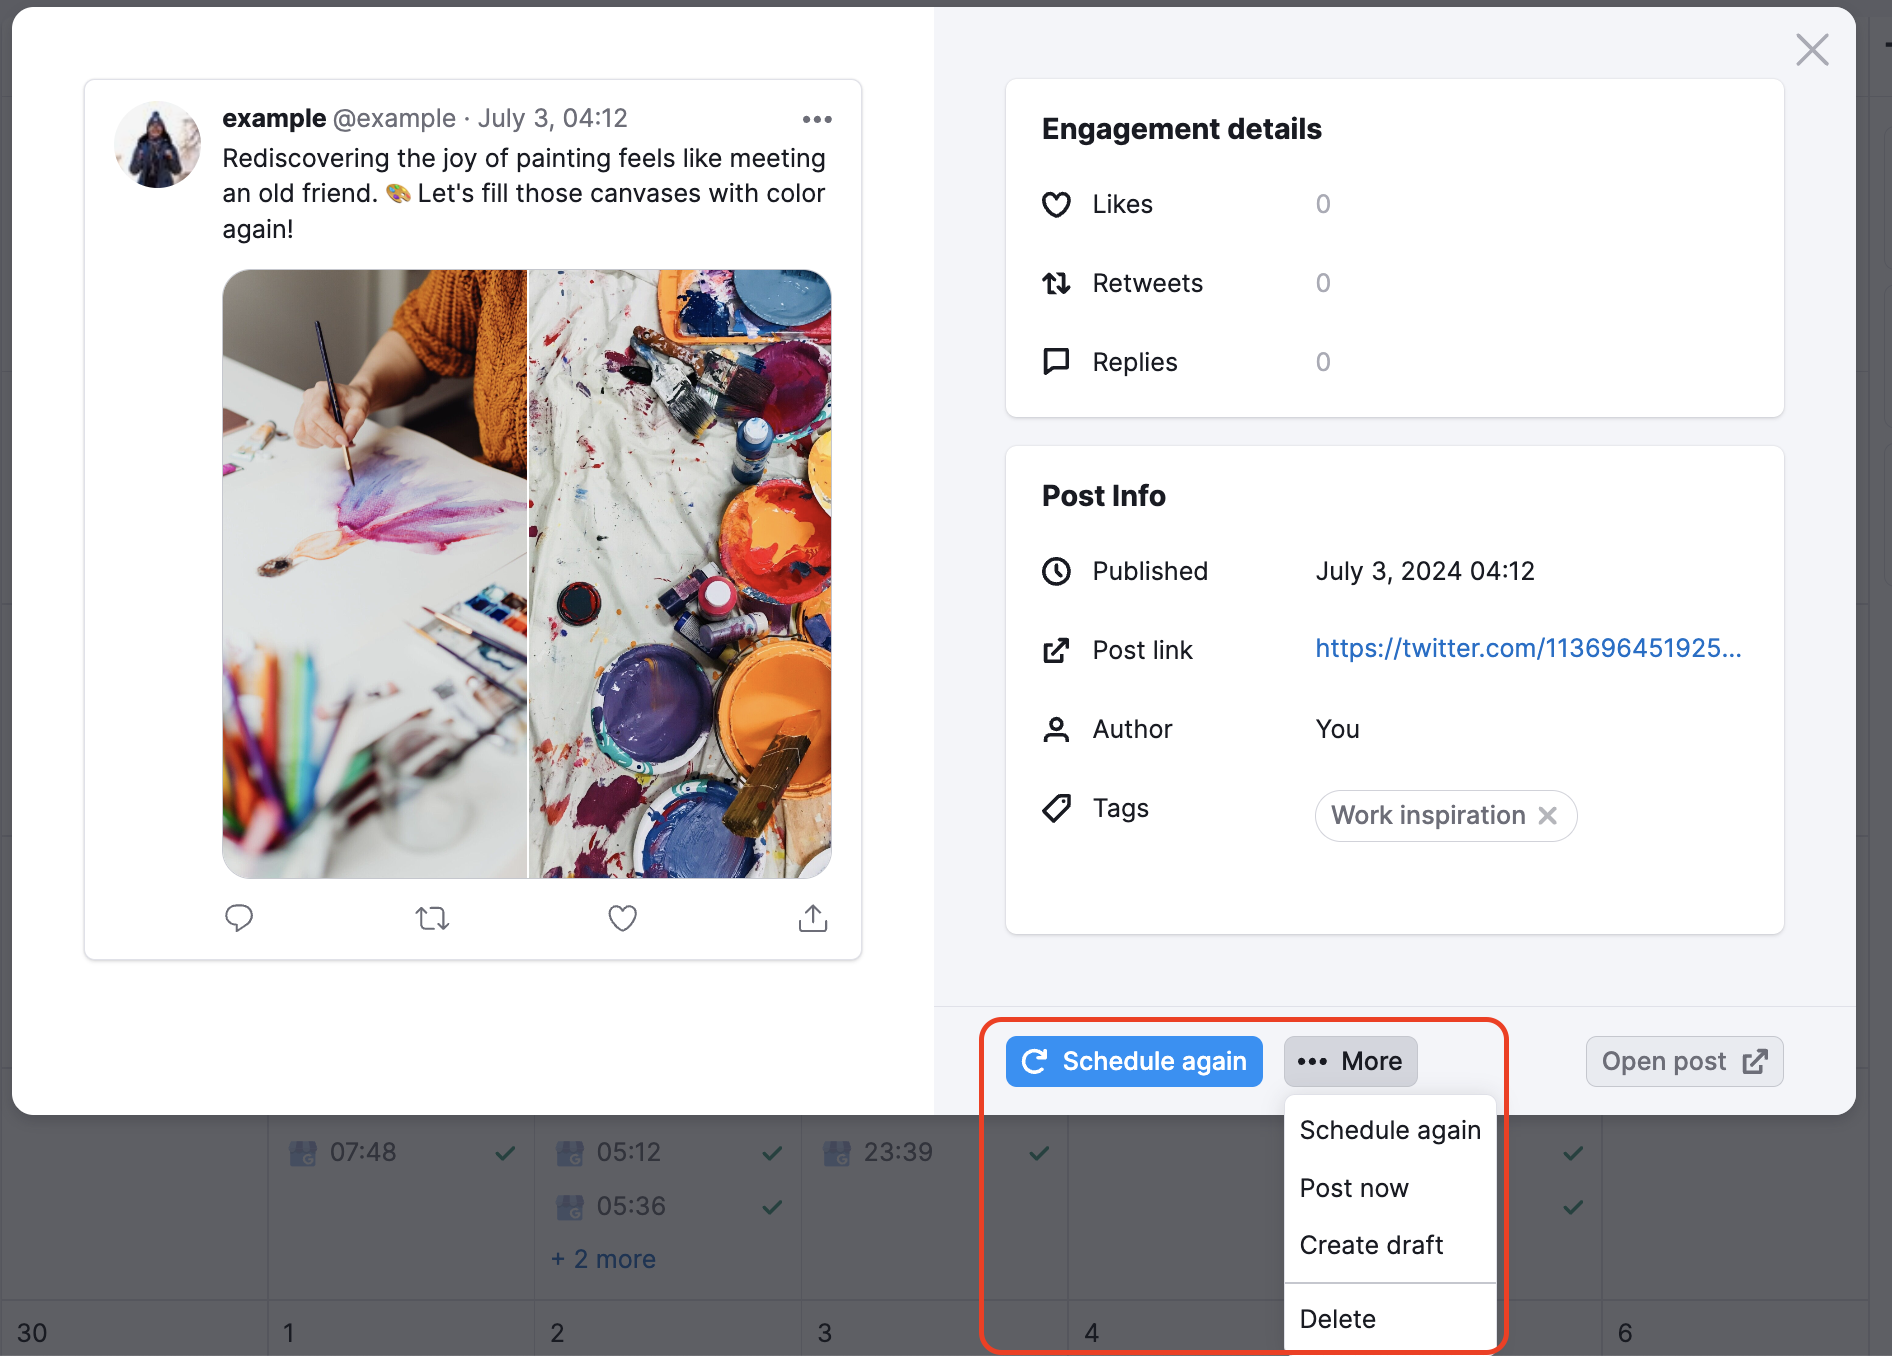
For X (Twitter) posts, you will be able to see how many likes, reposts, and comments each post has received for comparison. These statistics will be displayed next to their respective icons on the far right of the post.
Facebook posts will show you the Reach, Engagements, and Engagement Rate. The post will also include Engagement Details (reactions, shares, comments, and clicks). Instagram posts will show you the number of likes and comments.
With any of these different platforms, you are able to reschedule the posts, add them to the queue, or create a new draft. To do this click on the green schedule again button or the More… button at the bottom of the post.
View Scheduled Posts, Drafts and Errors
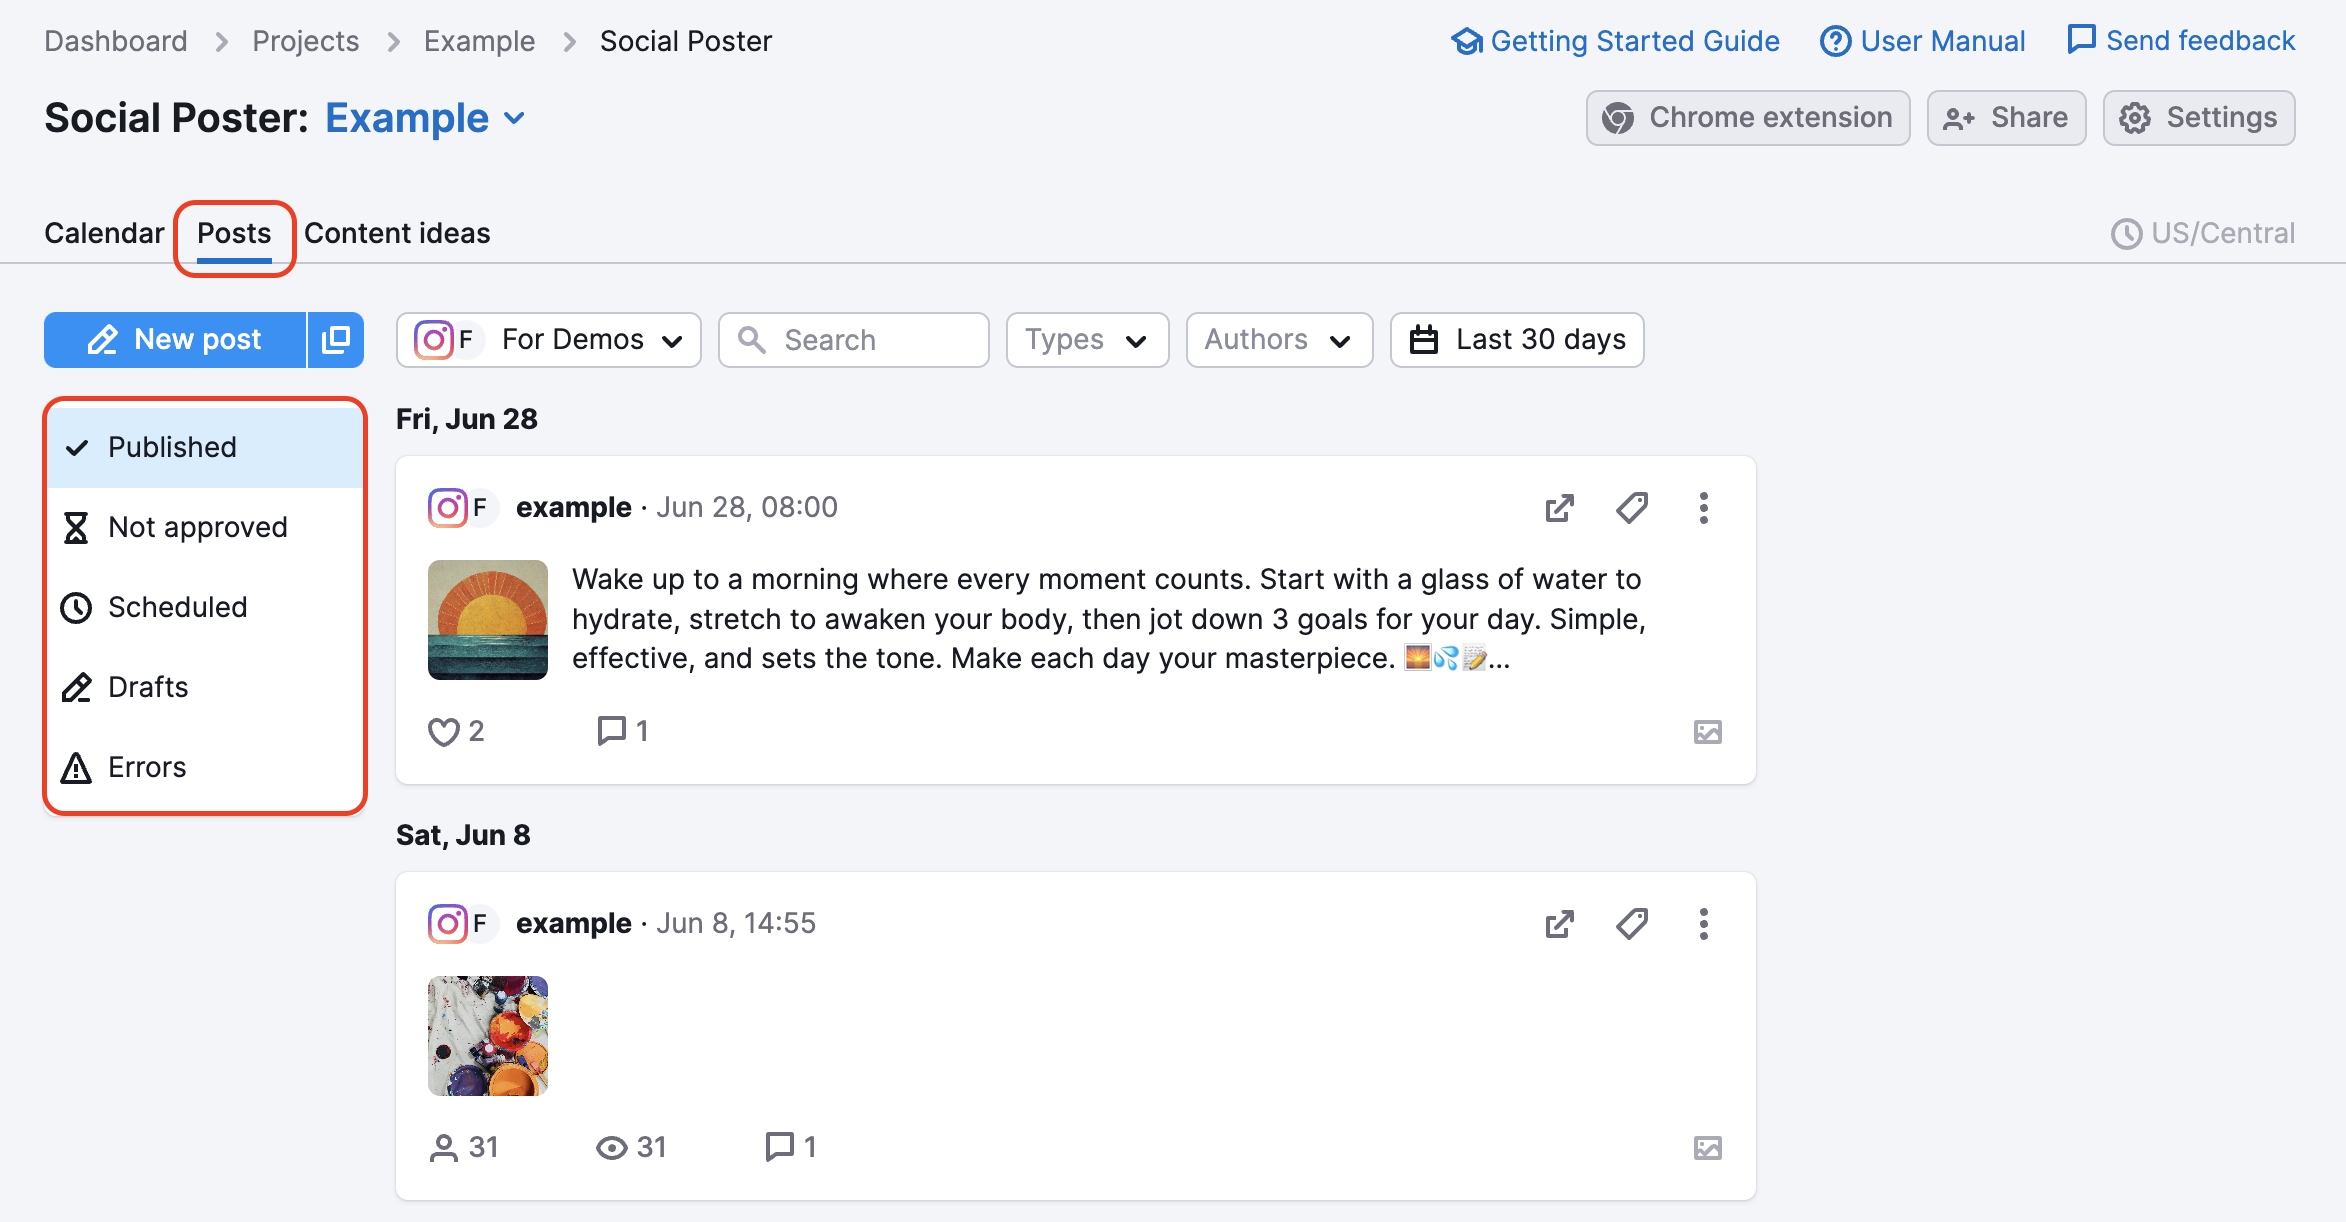
Not only will you be able to track and analyze your published posts, but under the Posts section, you can also see your scheduled posts, drafts, and errors.
Published posts are already live on your social, scheduled posts are those already timed to go live in the future, drafts are already written posts but don’t have any set time to publish yet, and finally, errors are posts that ran into an issue while attempting to publish.
Filter by Hashtag
You also have the ability to filter out your posts by hashtags. This is perfect if you are looking at how specific posts performed for a campaign.
Let’s say you just finished running a new social media campaign centered around your website’s new product. If you set up a hashtag associated with all the posts with new products, you can find these specific posts with a quick filter.
By entering the hashtag for your campaign into the search bar you will be able to filter out and analyze just the posts within that specific campaign. This same process applies to Facebook as well.
Along with filtering out by hashtags, you can also sort by content type. These include photos, videos, events, and links.
